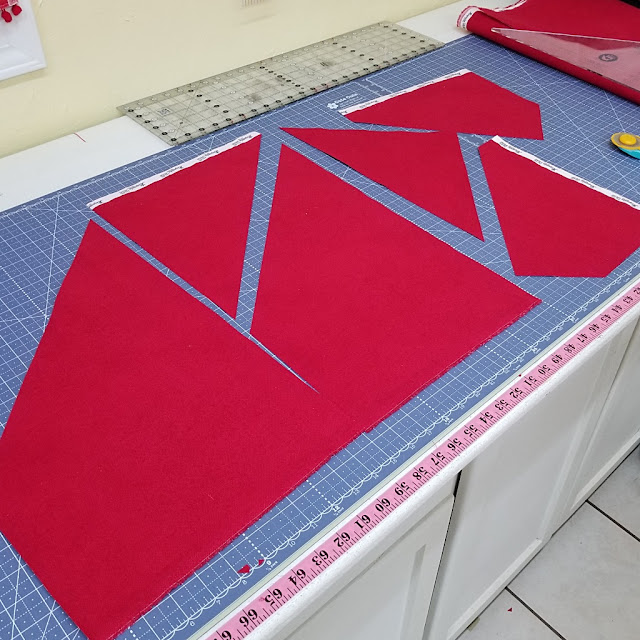
Hi Quilty Friends! It's been awhile since I've shared how I make large triangles for on-point quilts. The smaller the block, the easier it is to make those triangles.
The blocks in this quilt finish at 16 inches. It's not an impossible task to cut a large square to make triangles as suggested by EQ8. The hardest part would be finding a ruler long enough to make those long diagonal cuts. In the past I would use a yard stick or several quilt rulers butted end to end.
The corner triangles are a little easier to cut.
They are smaller so they can be cut from a smaller square with one diagonal cut.
Many quilters don't like and won't cut odd sizes such as 12 13/16". They will round up and hope for the best. I understand this, I did it for years. It taught me a lot about how deal with not so square quilts and how to deal fullness when quilting. And then one day about 10 years ago, I spied this ruler at our local quilt shop, Back Door Quilts.
It came with a little instruction booklet that can be hung with the ruler. If the dog chews up your instruction booklet, no worries, there's some basic instructions printed on the ruler.
The Large Diagonal Set Triangle Ruler cuts the triangles from strips of fabric. Blocks as small as five inches and as large as 16 inches without cutting an odd 16th this or that.
Here's how to use this ruler. Use the finished block size not the unfished size. My blocks before sewing them into the quilt are 16.5". Finished and in the quilt they are 16". So 16" is the number I need to use on the ruler and that is the very bottom of the ruler. I'm cutting from width of fabric right off the bolt. Well mine has been washed an refolded. Line up the folded edge of the fabric with a line on the cutting mat. And then make straightening cut to the end. Now I line up the ruler on the 16" line, then add the 6.5 x 24 ruler to the top of the triangle as shown below.
In order to make sure my ruler is properly positioned I line up the horizontal lines on the ruler with the horizontal lines on the cutting mat.
Carefully remove the triangle without shifting the 6.5 x 24 ruler and make the cut.
Trim the selvedge off the end and unfold the fabric.
The first triangle cut will be the corners of the quilt, the smaller triangles. Line up the flat top of the ruler with the top of the fabric and the bottom of the fabric with the line on the ruler for your block size.
Trim off the little ears at the top and bottom.
At this point you could flip your fabric or flip your ruler, whichever makes it more comfortable for you to make the next cut. I chose to flip my ruler, line it up with my finished block size on the ruler and the previous cut edge.
Then make the cut and trim off the ears. Repeat as many times as you can on one strip of fabric.
You may or may not be able to get another corner block at the end of your strip of fabric. Don't cut your small triangle like this. It will make those outer edges very stretchy.
Flip the fabric and cut it like we did at the beginning of the strip.
The only downside to using this ruler to make set in triangles is, sometimes, depending on the quilt, there is a lot of scrap fabric. I don't mind a little extra scrap, maybe I can use it to make some pillows or the binding.
The triangles are all in place and ready to become a quilt! YAH!
Until next time...
I hope you find time to stitch up something sweet!


Amazing! So beautiful! ❤️
ReplyDeleteThank you for the tutorial. This quilt will be stunning on your bed.
ReplyDeleteYour Christmas quilt is going to be beautiful! Looking forward to how you quilt it. Thanks for the GREAT tutorial on setting triangles ... l'm keeping these for future reference. Happy Stitching Days ... PattiK
ReplyDelete