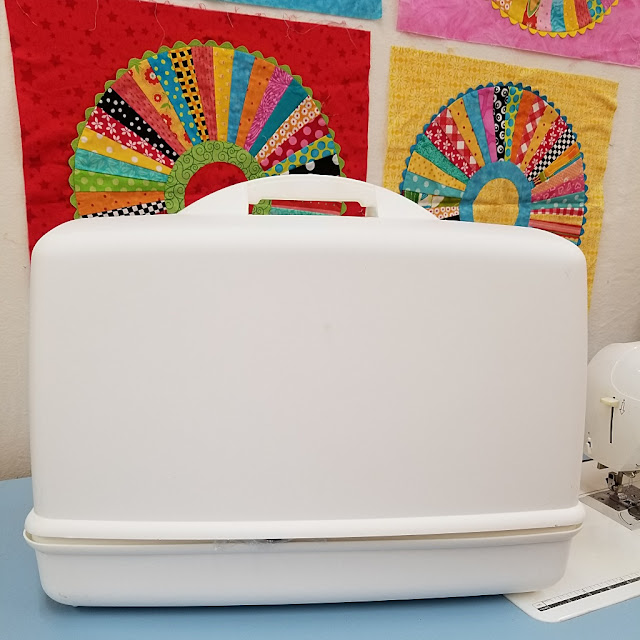
A few weeks ago my Aunt Linnie gave me this brand new sewing machine. She bought years ago with the plans of learning to sew. Well as we all know, life can get busy. She never even had time to take it for a test drive and then lost interest in sewing. So when she had to down size because they bought a new smaller home she gave it to me.
The Singer Athena is a basic sewing machine with no bells and whistles. She has a few decorative stitches but I don't consider those bells and whistles.
It was shocking to find nothing had been opened. Well I can't say much. I've had it for over a month and hadn't opened it either.
Wow, lots of feet and attachments. I don't need all these feet and attachments, so I'm not going to open them. Today I just want to give her a little test drive so if I ever need to use her I know how.
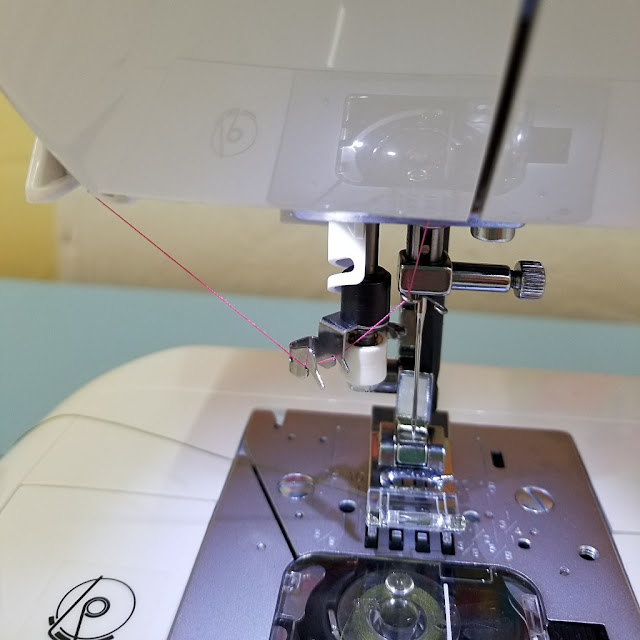
First thing to do is learn to thread the machine. These instructions are horrible. Numbers 4 and 5, make no sense. It looks to me like I'm supposed to pop the thread into #4 and slide into #5. Well that didn't work.
I managed to thread it through #5 but I can't pull it through because the automatic needle threader is in the way.
Where there's a will, there's a way. Tweezers to the rescue. I'm pretty sure I'm doing something wrong. I could have tried to find a YouTube video for threading it but it's quicker to use the tweezers. If I ever need to use this machine I'll do a little more research.
Now, lets see if the threader works. I've used this style of automatic needle threader before. They aren't great and often break. It took 5 tries to thread the needle and that is a plus because I can't see to thread a needle even with my glasses on.
This sewing machine takes a class 15 bobbin like several of my other machines so I used one one of my already wound bobbins. The first test drive did not go well and I ended up with al bird nest on the back. As we all know that means I didn't thread the machine properly.
I rethreaded and gave it another go. The top stitches look okay but not great. I may need to adjust the tension. But not today.
I can thread it. It sews a decent straight stitch and that's all I need.
Selecting the decorative stitches was easy. Just push the button next to the row of stitches until the light comes on above the stitch I want to use. Length and width of the stitch can be adjusted by sliding the bottom 2 buttons.
Might as well test the bobbin winder.
Well, I'm impressed! This winds bobbins better than my more expensive machine. I would leave this set up all the time and use it as a bobbin winder if I had the extra space in my Studio.
All in all she's not a bad little machine. She sews and is pretty easy to use. I wish she had a knee lift for the presser foot, a needle down function and an auto thread cutter. But when it's free I can't complain. I'm grateful to have back up machine that doesn't weigh a ton like my older ones. She's a keeper!
I hope you find time to stitch up something sweet!
Pin It


This machine it looks like a good one to take to a sewing retreat since it's more lightweight. It always takes a little while to figure out a new machine. Happy stitching!
ReplyDelete