Showing posts with label flippy corners. Show all posts

Friday, March 7, 2025

Bonus HST's Quilt ~ 5 Inch Cake Stand Block

 Hi Quilty Friends!  It's time for me to start using up those bonus HST's of which I have thousands. Just how many?  Well, I counted them about 3 years ago and there was about 3500 but I've added many more since and didn't count the additions.  So, my guess would be around 4,000 ranging from 1 inch all the way up to 5 inches.


The Cake Stand quilt will require (1014) 1.75" HST's and (169) 3" HST's.  The three ziploc bags of 1.75" HST's have been sorted by color into stacks of matching pairs.  In retrospect I should have counted all of them while sorting but I didn't, silly me.  After pulling all that is needed for this quilt, the remaining will be counted and the total added to the outside of the bags. 


This cute little block will finish in the quilt at 5 inches.  I would have preferred that all the HST's background to be a low volume print or all white but I'm working with 30 yrs of bonus HST's.  So, it's going to be a mishmash of both.  All of the 1.75" squares will be cut from my low volume scrap bins.


The test block went together quickly.


At this point in the block is when I remembered there will be an alternating block and my pressing was wrong...fiddlesticks!  


No use crying over spilled milk and definitely no reason to rip out stitches. Pressing the seams open on both blocks would solve the pressing issue without changing the quilt.  Sigh...something to think about while prepping the basket blocks for assembly.
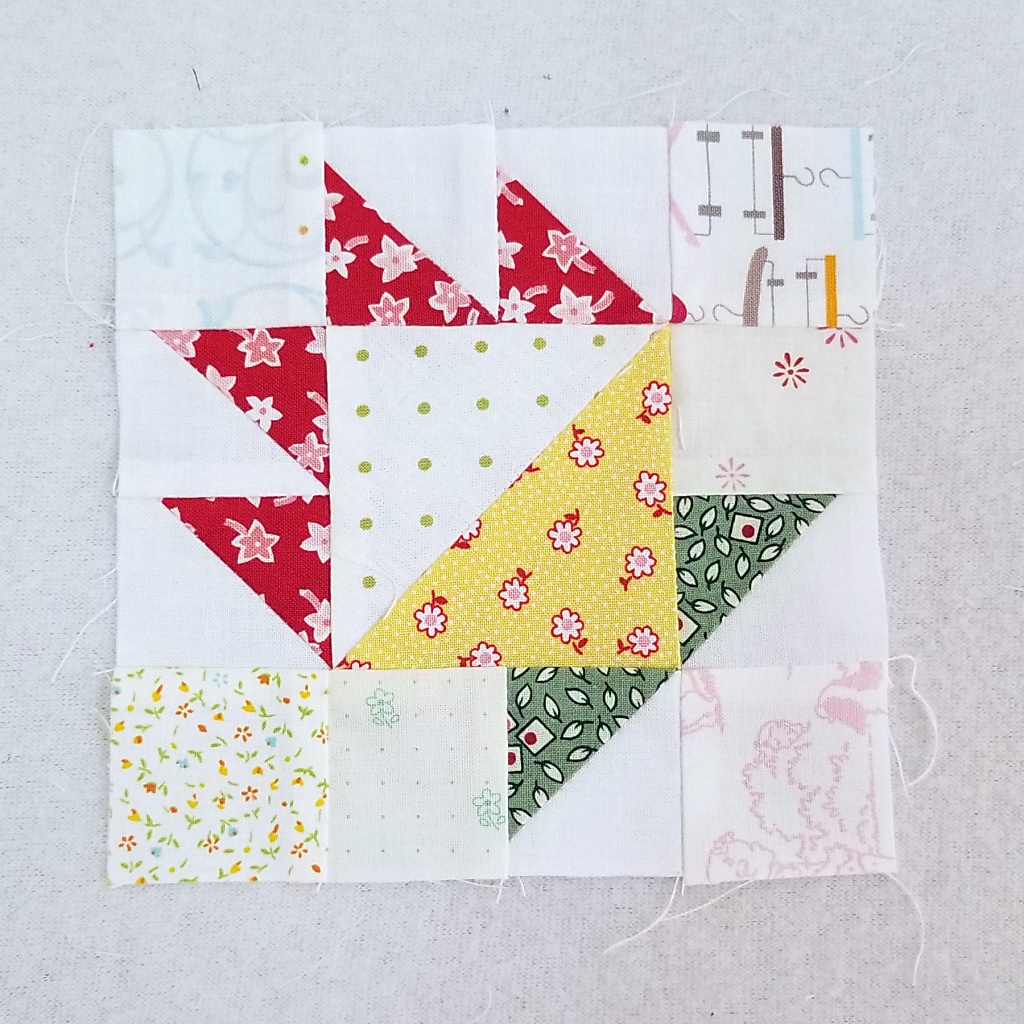

The block looks a little wonky to me but she measured almost perfect.  Just a few raveled threads were trimmed.  The main thing is my seam allowance was good and I won't lose any points on the HST's when it's finished.  Maybe I should say, I shouldn't lose any points on this block.  Sometimes it happens anyway.


With the test block out of the way it's time to start sorting this mess into blocks.  The 3" HST bag was pulled and counted.  Just as I thought, I'm to need to make more.


But before making more let's trim down the larger HST's in the stash.


And... I'm still short 87 HST's.  HAHA!  The plan was to use up the HST's not make more...HAHA!  Reducing the size of the quilt to throw sized crossed my mind...but I'm dead set on a queen size.  No worries, my scrap bins are full of fabric and ready to assist.  But not today.  Playtime is over and it's time to get the Daisy quilt finished.


Pin It

Wednesday, December 12, 2018

~ Where did it start? ~

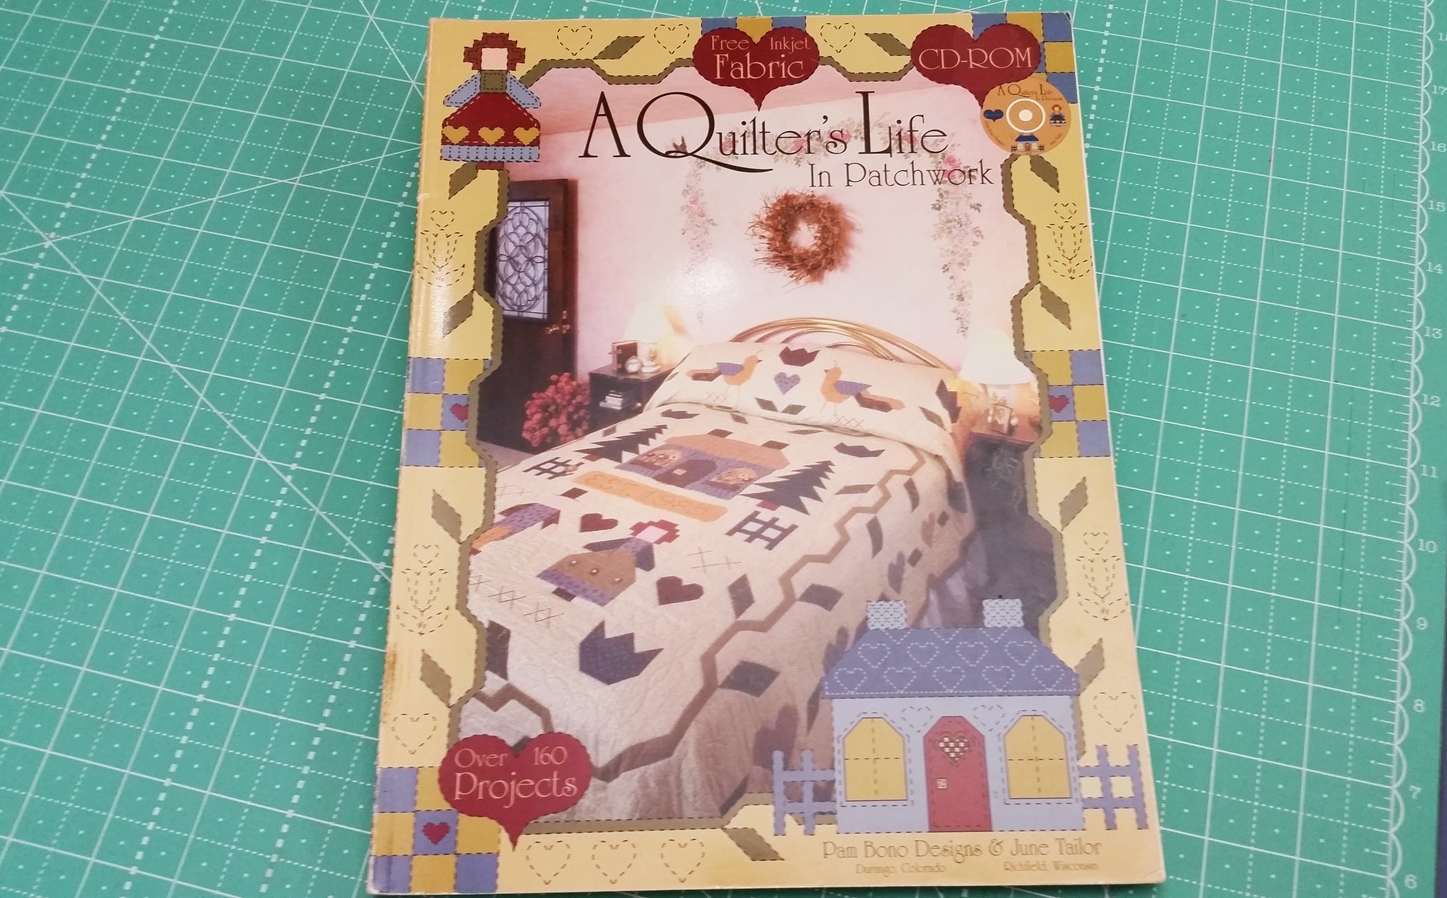
Over the last couple of weeks the topic for many of my posts have been about stitching from corner to corner on a square without drawing a line on the fabric.  While I would love to say this was my creative idea, it was not.  I'm not sure what quilter did it first but I found the method when I found Pam Bono.  Sadly Pam is no longer with us, she passed in 2014.  It was a sad day in the quilting community.  You can read more about her death here.


If you've never heard of Pam a quick Google search is all you need.  Since her passing her style has been imitated by many, including myself.  You know what they say.  "Imitation is the sincerest form of flattery."


She was also the first that I know of to make the The Angler I shared a few days ago


Since learning her amazing little trick it seems to pop up in many of my own designs as well as those patterns I make from other designers.  My current quilt has oodles of "flippy" corners.  Some quilters will toss  the clipped corners in the trash.  I find it hard to trash any fabric.  So I sew another line to make a bonus Half Square triangle.  


The corners on this project are small but still usable in a mini quilt.  I adjust my normal 1/4" to a 3/8" seam between the the two stitched lines.  You can read more about the two lines here.  The bonus  half square triangle will measure 1.5".


Most of the time my bonus HST's are tossed in a basket that sits beside my sewing machine.  This basket is just the tip of the HST iceberg.  There's 3 more bags full of these in every color and size.  Someday I hope to make a quilt with all of them.  Occasionally I'll pull out a few for a quick project.


If you're not sure what to do with all of your clipped corners. I've put together a few of my favorite project  to inspire your creativity.
One of my most recent projects was the Autumn Star quilt block.


The orange HST's were clipped from my Podunk Plaid quilt pattern. 


When designing my Turnabout Tulips quilt pattern, I decided to include the clipped corners in the pattern. The pink pinwheels dancing around the center are clipped corners from the tulip blocks.


The 1.5" HST's are a little more challenging to use in a quilt.  Pinning is very important when working with these small pieces.  There's not much room for fudging!


 The mini quilt above was made using the 1.5" clipped corners from my Promenading Tulips quilt. 


Sweet Pickin's below is one of my favorite minis.  The little basket blocks is made from several different sizes of bonus HST's.


The clipped corners came from my Cherry on Top Picnic quilt.  It's a free quilt tutorial here on the blog. Yep, I love this one too!     There's something about those sweet cherries!  Well I could go on and on about my love of cherry decor, so I'll stop. 


#pambono #flippyquiltcorners #quilthst #freequiltpatterns #podunkpretties
Pin It

Saturday, December 8, 2018

~ Good Fortune ~ Part 3 ~

Yeah! Chevrons!  Don't you just love the clue for this week?!  We get to use the green, which I love, even though my green is the color of spinach. (that makes more sense if you read yesterdays post)  Okay I'll agree these can be kinda tricky.  But this is doable.  The fist thing we need to do is... believe we can do it.  You know the story of the little engine that could?!....LOL!  It really is that simple.  You need to believe you can do it before you can do it.  A little positive energy goes a long way.  And remember those little imperfections will be hidden in the busy-ness of the quilt.
 But before I share a couple ideas/tricks I want to show you some of my fabrics.   The floral print in the middle is one of my favorite older prints.  If I remember right this is a Joann Fabric print. I love the red and yellow paired with the gold shimmer.  It's a Christmas print that doesn't scream 
I'M A CHRISTMAS PRINT!  


And then there's this.  How in the world did this get in my stash?  I would have never purchased any type of nautical fabric.  It's the right shade of green so its going in the mix. 


Now here's one that some of my older readers might recognize.  Jinny Beyer has come a long way over the years.  Her quilt designs today are works of art.  My hats off to a quilter that takes on a Jinny pattern.  If you've never heard of you need to see this talented ladies work.  Click here.


Alright let's get this party started.  The first thing I did was read an reread Bonnie's instructions for Clue 3.  The first piecing option was the one I focused on.  Then I started playing  on paper.  This is my go to method for testing piecing when I design a quilt.  I could make it from fabric but if the measurements are wrong then I have an orphan unit.  After a few years of that it's a lot of waste.  Scrap paper is plentiful, cheap and I don't feel guilty tossing it in the trash.


Luckily my first attempt was correct.   So a quick run down of my process.  I drew the lines from the instructions given in Clue 3.  I stitched the first line from corner to corner.  I felt like I had won the lottery when I DID NOT need to move my needle to make the 3/8" seam allowance.  From my needle to the edge of my open toe foot is exactly 3/8".  


If you don't have the quilt ruler Bonnie's is using and you've no idea where 3/8" is on the ruler here's a little guide.


It worked fine on paper but will it work on fabric.  There's only one way to find out.  So instead of marking oodles of lines on oodles of squares I'm using the lines I drew on the bed of my machine.  You can find a tutorial here.  My needle is centered with the center line on the bed of my machine.  Sewing from corner to corner.  Just take a stitch or two at the top and then shift your vision to the bottom corner.  The bottom corner needs to stay on the line on the bed of the machine.  All this will make more sense when you see the video below.


For the second line I'm using the first stitched line as my guide.  The lines on the bed of the machine are useless for this.  Just follow the previously stitched line.


Before I cut apart my first test piece I pulled back the top triangle, pressed and then measured.  It's the perfect size!  Yeah!


Then I repeated the same process with the larger triangle.  It's not perfect but it's staying.  I'll make some adjustments on the next piece.  I'll explain later what I didn't like about the larger triangle. 


Let's cut these babies apart.....carefully...that 1/8" that is missing makes a big difference.  


And through the magic of blogging we have beautifully made pieces.  


Okay lets get real.  This corner is a little off.  A fix is simple...without ripping seams I could stitch another seam.  Or I could just roll the seam back a bit till it lines up with the corner.  I think I'll just leave it as is.


After taking all these pictures I decided to make a little video.  So here you go. 
Video Removed 
 I removed this video due to some Bonnie followers believed I was breaking a rule. Sorry for trying to help out those who want and need help.  I in no way made one penny from the video.   I was only trying to be helpful with out posting any of the pattern sizes.  Sorry.


#goodfortunequilt #quiltvillemystery #quiltingtutorial #podunkpretties
Pin It
Related Posts Plugin for WordPress, Blogger...