Showing posts with label heat n bond lite. Show all posts

Saturday, May 23, 2020

~ Home Again Blocks ~

Hello Quilting Friends!  Its been a while since my last blog post but I've been busy working on several different projects.  Before I share my current project I want to let you know that I post almost daily on Instagram and Facebook because it's quick and easy.  
So back to what has been keeping me busy and excited.  Erin Russek has once again designed the cutest FREE BOM called Home Again.   She gives you 16 blocks free in two different sizes.  There will be several options for finishing the quilt.  The block below is the large center medallion that must be purchased at a reasonable price.  You can get all the details about the free blocks and where to purchase the center block on her website HERE.


The fabric in my blocks is mostly discontinued Lakehouse Drygoods fabrics.  But there are a few others prints from various manufacturers.  The background fabric is from the Sugarhouse Park collection by Amy Smart for Riley Blake.


To keep things quick and easy the applique is done using raw edge fusible applique method.  Heat N Bond Lite is my go to for this method.  It's the only product I've found that does what it claims it can do.


A technique called "windowing" helps to reduce the stiffness of fusible applique.  You can see and example of this technique I used on another quilt HERE.  


Cutting out applique shapes can sometimes be tricky so I shared a few tips in a video.  Click here to watch the video.


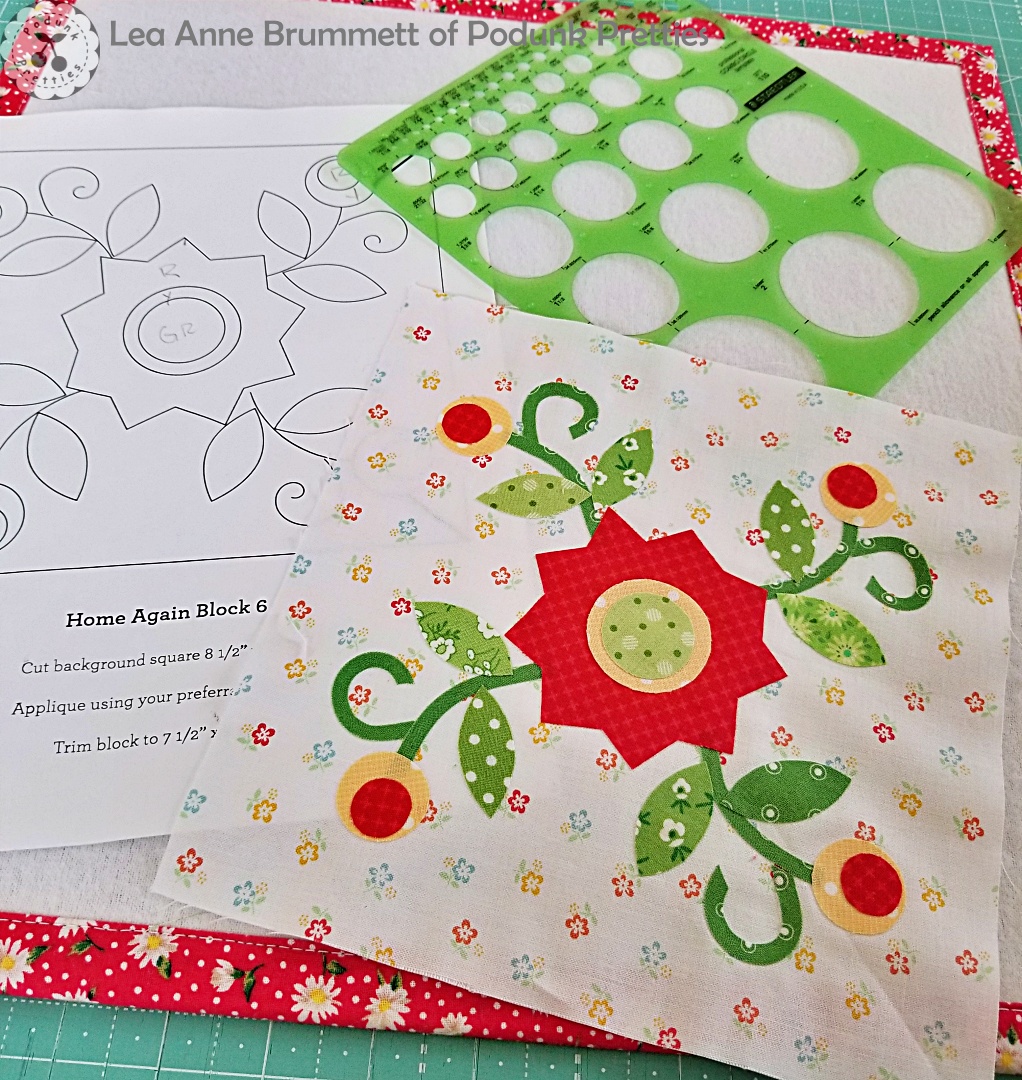
The green Rapidesign circle template is what I use to trace the circle shapes to the Heat N Bond Lite.  I purchased mine at Office Depot but they can be found at any craft store such as Joann's or Hobby Lobby.

And the reason why I keep showing scissors in almost every picture is because a good pair of scissors makes all the difference when cutting raw edge applique.  I love my Kay Buckley scissors.  I have them in several sizes.  And cutting paper with them does not dull them like other scissors.  You can purchased them HERE.


You might also notice I've made a slight change to the stems in some of the blocks.  The pattern calls for embroidery stitching.  UGG...As you know I'm not a big fan of handwork.  So in true Lea Anne style I changed things up a bit.  Later next week I'll share how I made my stems.


These little birds is what really sold me on this pattern.  I'm a sucker for birds, especially bluebirds.  They are so cute!


All of my blocks still need to be stitch into place.  I'm leaning towards using Superior Thread MicroQuilter 100 wt. 7002.  But this isn't set in stone. I'm also considering matching the thread color to the applique.  Only time will tell.


Well that's all of them so far.  Hopefully I can find time this weekend to make block 13 that was released yesterday.  Another cutie!  The image below is Erin's Block.


Oh! I forgot to mention the BOM is now a block of the week due to our stay at home orders.  Erin decided to speed things up since so many of us are hunkering down at home.  

See you soon!


Pin It

Monday, January 20, 2020

~ Christmas Joy Quilt ~

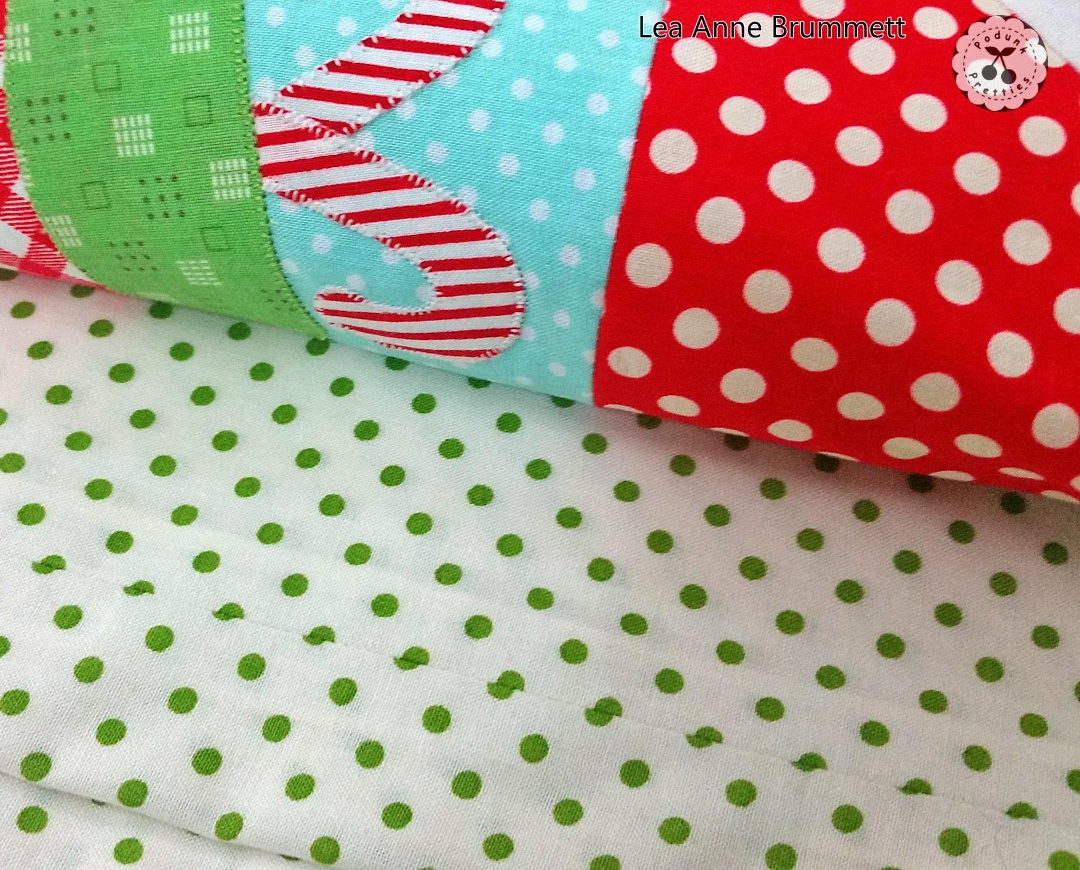
Hello Happy Quilters!  I'm so excited to finally get my Christmas Joy Quilt off the frame.  This is a fairly small quilt and  pretty lightly quilted it should have taken no longer than 2 days to quilt.  However my ruler foot broke and then there was an issue with a back spinning bobbin.   The powers that be love to throw me a few curve balls with ever quilt.  


The quilt will be used by my grandchildren when they come to visit during the holiday season.  I wanted it to be soft and cuddly for them and have pretty quilting is for me.   I think I achieved both.


Sometimes it's hard to achieve the feathery look I love without making a stiff quilt.  The trick is to not follow some of the so called rules for custom quilting.  I'm pretty sure the longarm quilting police would curl their noses at the lack of background quilting in my applique blocks.


Now all that's left to do is add the polka dot binding.  Since I have about 11 months to finish the binding I'll take my time and hand stitch it to the back of the quilt.


The Christmas Joy Quilt pattern was designed by Carol Swift for the Thermoweb website. I made a few alterations to the pattern to make my own.  Click here for the original pattern.


Just a little reminder that you can still gt 20% off you entire purchase at The Purple Hobbies website using the code PodunkPrettiesJan20  
Offer ends February 29, 2020.   Make sure when adding the code to your shopping cart that you click APPLY.  You can see my review of the BladeSaver Thread cutter here.  And the Third hand Binding Folder Clip here.


50% OFF Sweet Sixteen PDF pattern
click image
expires 2-15-2020


#thermoweb #heatnbondlite #christmasjoyquilt


Pin It

Sunday, December 29, 2019

~ Fussy Sewing? ~

Is there a such thing as fussy sewing?  What I'm calling fussing sewing is carefully matching the print on fabric so you can't see the seam when sewn.  After planning several different border options for this quilt I decided to go with the one I felt would be the quickest to make.  While it was the quickest option, I still needed to pay close attention when sewing together the WOF strips for cutting the borders.  I wanted it to look seamless. All the stripes need to be same width.


To do this the fabric was layered right sides together.  Then I shifted the top fabric so the first white stripe lined up exactly with a red stripe on the bottom fabric.  After I stitch these together I will trim off the selvage.


Next I carefully pinned it in place.   This required a little effort.  After putting in each pin I would lift up the top fabric to see if the lines on the fabric were lined up properly.


Using the lines on the fabric as my stitch line .


This is how it looks before pressing and trimming.


Can you find the seam?


TADA!  Here it is!  Pressing the seam open helped hide the seam.


 Now to get this girl on the frame.  I chose another polka dot for the backing.  As you can see I was not so picky about the seam.  I'm sure matching up all those dots could be done but not in my quilty world!  That's knocking at the door of an obsessive disorder....😄HAHA!  Quilting is my therapy not the reason I need therapy. 


#quiltborders
#fussysewing
#thermoweb
#heatnbondlite
#christmasjoyquilt

Pin It

Saturday, December 28, 2019

~ Quilt Border Options ~

 This may not surprise most of you when I say this....I changed the pattern.  Just a tiny bit, a few minor changes.  There was absolutely noting wrong with the pattern other than I wanted it a little larger.  So with the help of EQ8 I started playing with options.  Before showing you my changes I want to give credit the designer of this super cute quilt.  Carol Swift from Just Let Me Quilt designed this Christmas Joy quilt for ThermoWeb.  It's a FREE pattern that you can find by clicking here.


Instead of trying to recreate Carol's applique blocks I used what was already in EQ8.  Here's the first quilt I came up with as I set the blocks into place.  It's still too small but I like the look of the extra hourglass blocks around the outer edge of the quilt.  Making them in three colors instead of 2, then setting a plain block in between.


Now to find a border.  My first thought was to do a simple border with a fun bright binding to finish it off.  I like it but let's see what else I can do with a few clicks of my mouse.


This one was interesting but still doesn't WOW me.


I have to say this one I LOVE but it would require ordering more aqua gingham for the border.  I have some but I already have a plan for it in my next quilt.


At last I think this will be the one!  I might even add a little more applique to the corners. 


Carols quilt finishes at 50" x 58".  My quilt finishes at 72" x 72".  The yellow square on my quilt shows the original blocks without the sashing in Carols quilt.  Another change was every other row of hourglass blocks I turned.  In Carols quilt they are all the same direction.


Now to find the perfect red stripe.  I used a small red stripe for the candy canes in the stocking blocks.  The plan was to use the same red stripe for the border.  However it just didn't look right. So I dug deep into my stash and found this wider stripe...I love it!  I think it's going to be perfect.  What do you think?  The small stripe or the large? OH!  you know.... I could omit the applique in the corners and do a mitered border.  What do you think?  Should I ?  I'll need to think this over as I run some errands this morning.  I can't wait to get home and start adding the borders.


#christmasjoyquilt 
#freequiltpattern
#christmasquilt
#thermoweb
#heatnbondlite


Pin It

Friday, December 6, 2019

~ Christmas Joy by Just Let Me Quilt ~

HELLO Happy Quilters!  Friday at last!  How many of you are like me and planning a private quilting retreat in your sewing room?  I bet I'm not the only one with few Christmas sewing projects on the to-do list.  For me these are the best retreats.  I prepared for this 3 day quilting retreat by cooking ahead for Mr. Podunk.  If he doesn't want to eat Taco Soup leftovers all weekend there's frozen pizza and cold cuts in the fridge.   The only thing that could interrupt my pajama quilting retreat is unexpected company.  But to be honest, we are so far out in Podunk no one drops by without calling.  My private podunk retreat officially started late yesterday afternoon with this jolly little Santa designed by Carol over at Just Let Me Quilt.  I chose this project first just because today is National St. Nicholas Day.  Who knew there was such a thing?  You can read more about how to observe National St. Nicholas Day here.


Really it just doesn't get much cuter than this.  The finished quilt is lap or large wall hanging size.  You can get all the details on Carols blog and at the Thermoweb website.  Pssst....it's a FREE quilt pattern.  Go get it even if you don't have time to make it right now.  Save to your computer for next year.  Maybe get a jump start on next Christmas...RIGHT!....LOL!   Who does that?!


Before I could start the Christmas Joy quilt I needed to make my final pull for two other quilts from my bin of over pulled fabrics.  Below is what's left after pulling out exactly what I needed to make the blocks for the other two quilts.  Well all but the black fabric.  Black is not a color I use often so I had to dig deep in the stash cabinets.  Can you see the selvage on the black fabric?  This little scrap is from my treasured discontinued, no longer in business, Lakehouse Drygoods stash.


The other two quilts on my list for the next month are my own designs.  They will eventually be published patterns.  For now I'm focusing on getting them pieced, quilted and ready for the grand children's Christmas visit.  I'll have a little extra time to get them completed because we will be celebrating Christmas in early January on my daughters birthday.  


Both of my designs are Christmas patterns.  One is 100% pieced blocks and the other has just a tiny bit of applique.  I'll be using Lori Holt's Gingerbread Man template.   This template is a few years old, so it might be hard to find.  And if you do find it, it comes in a set of several different Christmas templates.  So when I write the pattern it will come with a similar gingerbread man paper template.


Now that all that is taken care of I can get down to business.


As you can see I cut the center out of each applique piece.  Heat N Bond Lite isn't stiff.  It's actually very light weight.  The windowing makes it even lighter and it takes very little time to do.


The applique placement sheet printed out off center.  I'm sure this was a printer error and not a pattern error.  No worries, I simply folded the page in half, matching the outlines of the block.  Then marked the center of each line.   The same process was repeated on polka dot blue background fabric.


Using a light box to line up those markings on both the paper and the fabric.  Then started adding the applique.


I knew this was going to happen....shadowing.  Shadowing is when the darker fabrics show through the lighter fabrics on top.  My solution for this is simple, just add another applique.


So I traced, cut and layered them the best I could.  It's impossible to get them exactly the same when using scissors to cut your shapes.  The fix is simple.


After removing the paper from the back of all applique pieces, layer the two exact same shapes together on an applique pressing sheet.  Then press with a medium heat iron.  Allow them to cool for a minute or two.  Carefully peel them off the pressing sheet.


Now I can trim these up to match.  Trim carefully, taking off the tiny little pieces extending out past the top fabric.


There you have it!  Trimmed and fused in place.  Most of the shadowing is gone.  There is still a little right under the nose but we'll just call it a mustache!


I'm really happy how Jolly Ole St. Nick turned out.  After making all the applique blocks in this pattern I'll machine stitch around the applique with a tiny blanket stitch and matching thread.  


#JustLetMeQuilt #ChristmasJoyQuilt #christmasquilt #christmasquiltblock #freequiltpattern #thermoweb #heatnbondlite #podunkpretties

Pin It
Related Posts Plugin for WordPress, Blogger...