Showing posts with label L'amour for Moda by Sandy. Show all posts

Tuesday, February 28, 2023

Amour Cerise or Amour De Cerise?~ UFO Quilt #5 2023

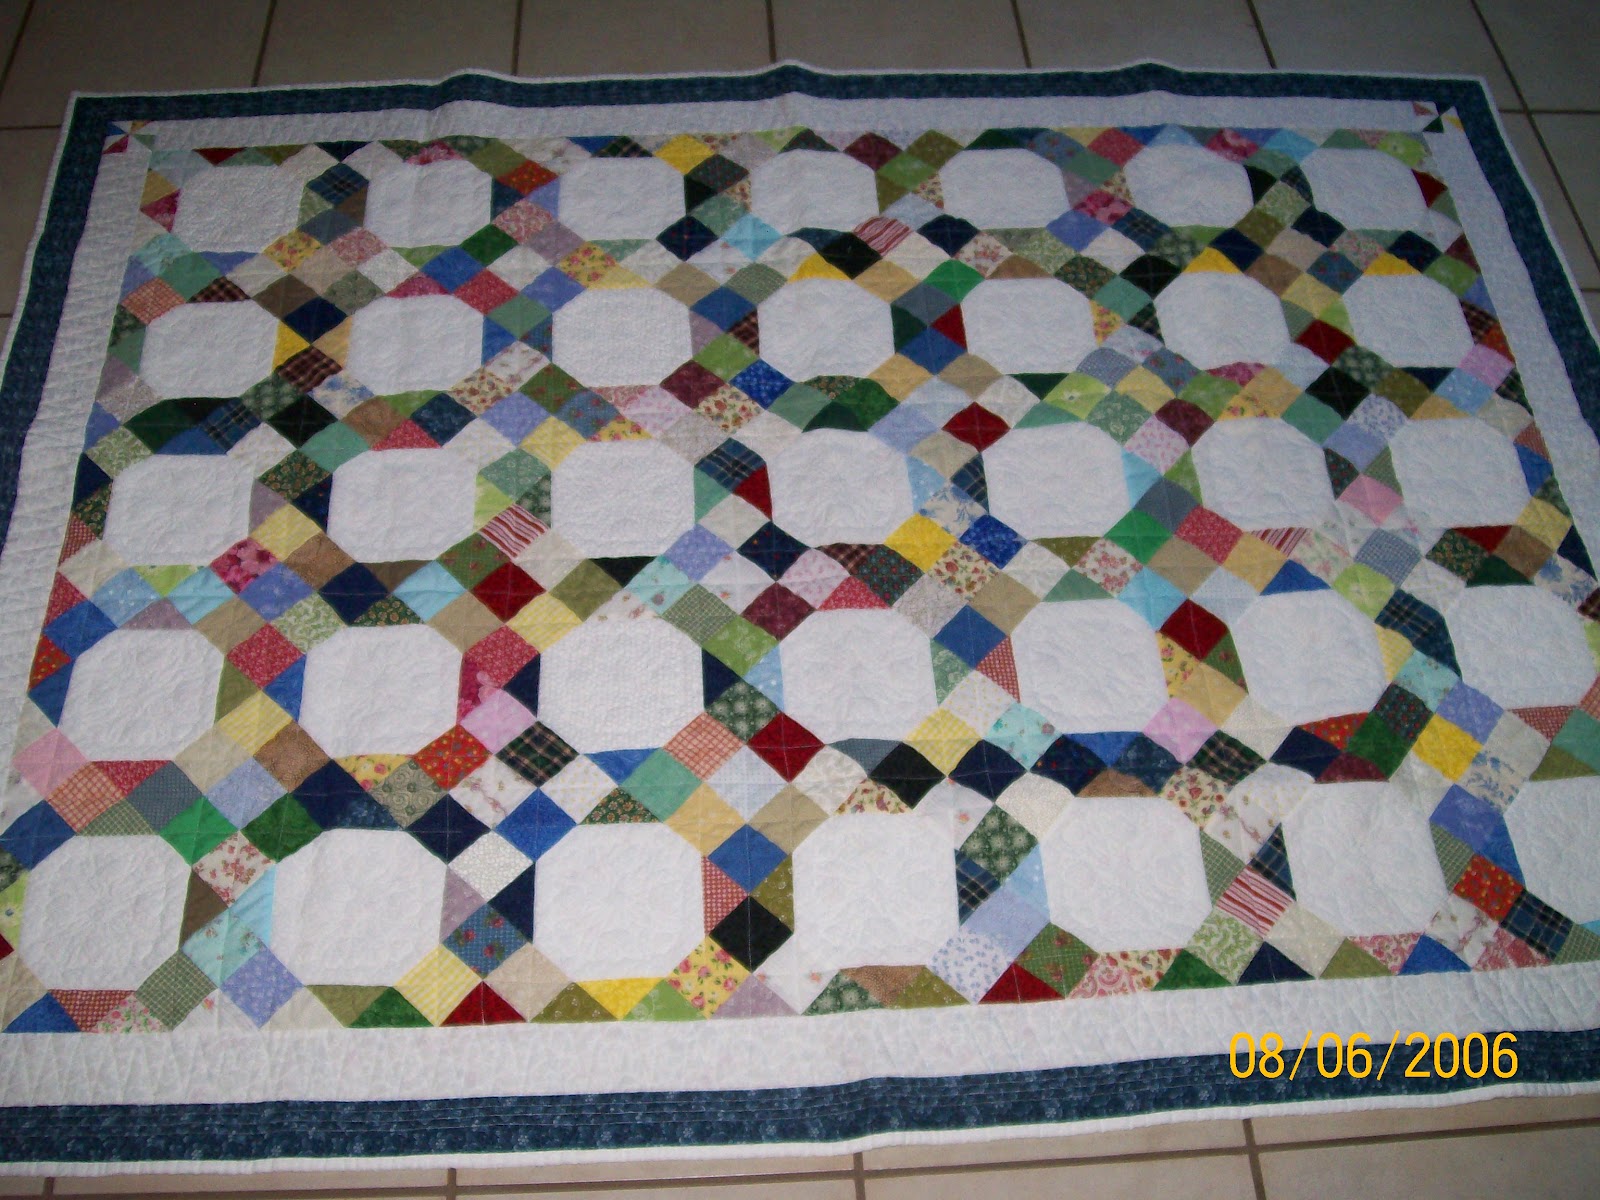
Hello Quilting friends!  Today I'm excited to share my Amour Cerise(Cherry Love) quilt.

Quilted, bound, washed and ready to be stored away until Valentines Day next year. 


The quilting was kept somewhat simple. Lots of stitch in the ditch and free motion feathers. 


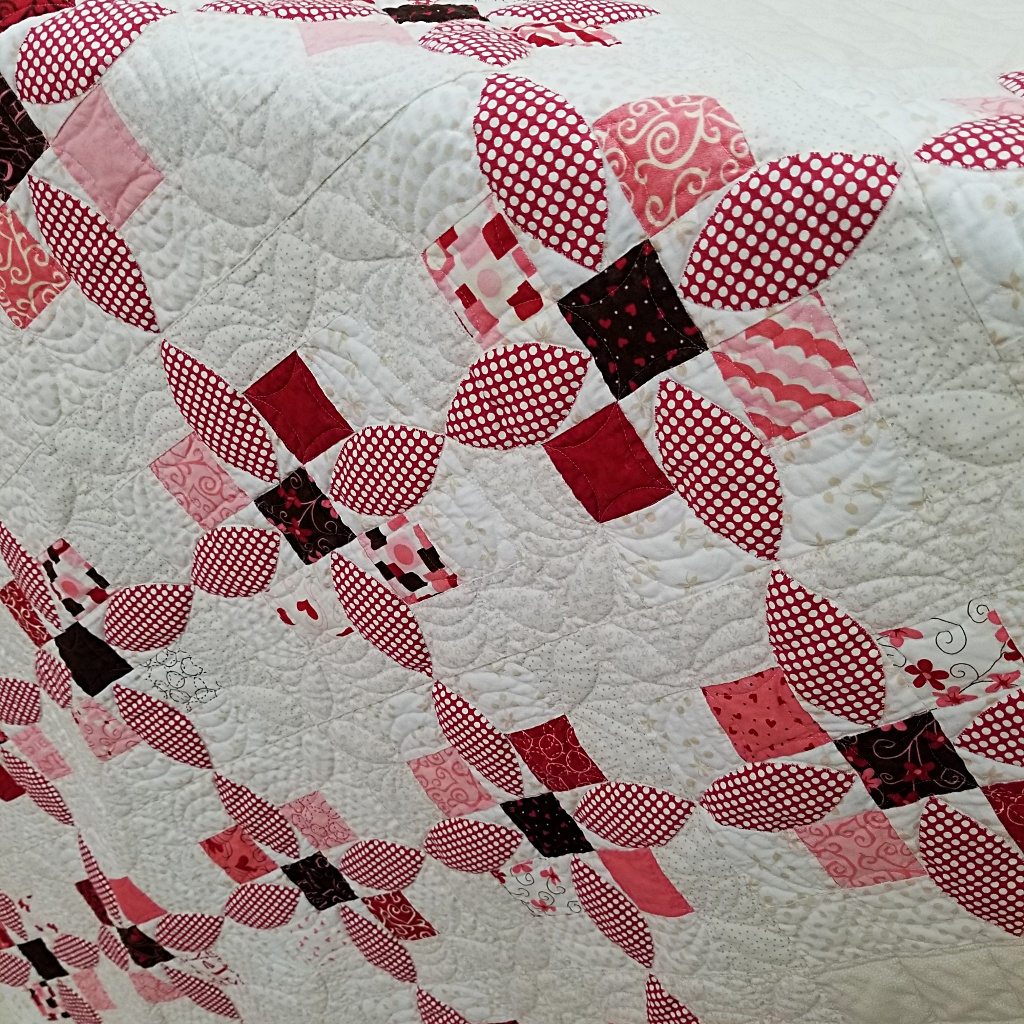
The applique is fusible raw edge with 100 wt. thread to hold it into place.


The large crosshatching is spaced every 2 inches and was marked 100% before putting it on the quilting frame.


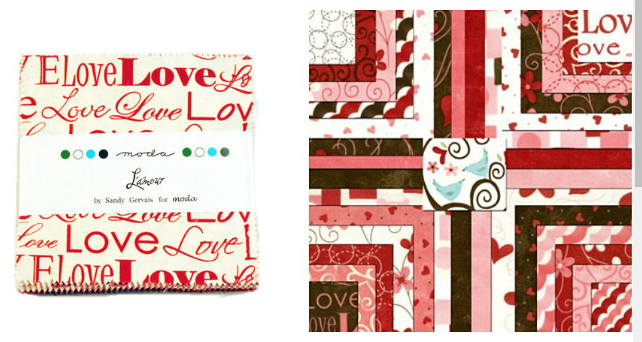
 I decided to see if I could find some of this fabric for sale online.  There was no plan to purchase it, I was just curious to see if it was still out there.  I thought this line of fabric was called Amour Cerise.  When I Googled Amour Cerise by Moda there was no such thing but I did find the real name of this line is L'Amour or translated LOVE.   Now how did I come up the name Amour De Cerise?  I have no idea what was going on in my head way back then.  But I decided I should recheck my my translation, it could be wrong too.


I'm so confused when it comes to the online translator.  Take a look.  It hurts my brain and I'll leave it at that.


So now I'm faced with the label issue.  Take a look at this...I misspelled Cerise!  UGGG!  It would have been nice to have noticed this BEFORE stitching it into place.  Fiddlesticks!  If I leave it as is, this quilt will survive for 1000 years and with my name in big bold letters after the misspelled word.  How tacky would it be to cross out the H with a marker?...HAHA!  Okay....I'll make a new label, remove the DE and correct my spelling...just not today.  This is going into the needs a label stack of quilts.


Until next time...

I hope you find time to stitch up something sweet!


Here's a video I made about this quilt for Facebook.  It contains a little more information about the quilt.

                  Pin It

Saturday, January 31, 2015

Mini Love Finish

 Have you ever started a project thinking it was going to be a quicky and then it takes much longer?  Well that's exactly what happened.  How could it take two days to finish a 12 x 17 wall hanging?!  Geeesh!  It all started by wanting to use up the scraps from the Amour de Cerise quilt and Simply Sweet table topper.


I surfed the internet for ideas and came up with a plan.  My little mini will include ideas from 3 different quilt designs.  I grabbed my favorite designing tools and with a little help from my printer for the letters ... TADA!


There's a quilt on the frame so I had to quilt this on my regular sewing machine.  And remember my walking foot broke last week.  Well what's a girl to do but take a free motion refresher course.  Oh boy...it's so much easier on the quilt frame.  Funny how quickly our muscles forget.   I had some tension issues and my soft flowing feathers were more like squiggles.  


Two days and two needle breaks later we have a finish!  I wanted to use every last piece of the L'Amour Charm pack so I made a nine patch from the scraps then cut it as if I were going to do a disappearing nine patch and used it for the bottom strip.  There's a few fabrics from my stash, but they all play pretty well together.   Now to give her a name, any suggestions?


I love white quilt backs.   Shows off everything, the good and the bad.   Even though the quilting is less than perfect I still love it.  Now that I've blown the dust of my FM on the DM I might try to do a few more minis this year.  


~ Lea Anne ~

Pin It

Friday, January 30, 2015

Enough for one more...

After making a lap quilt and a table topper, there's enough scraps left for one more small project from the Moda L'Amour charm pack.  Here's a sneak peak at the last little cutie.    Do you keep making projects until all the scraps are gone from the original project or do stash them away?  This is a first for me.  Maybe I should do this more often.   It's a great way to keep those scrap bins under control.


The Miss Kate quilt is coming along.  After two cups of coffee, an eye crossing quilt staring session and making a huge mess pulling fabrics for a border, I think this quilt will be fine without a border but with a colorful binding.  Now comes the hard part of stitching down all the applique. Sounds like an all day job and a lot of coffee!  
Guess what?  there's scraps...I see another Miss Kate project in the near future.
The designing wheels are already turning.  Maybe this applique can wait.


~ Lea Anne ~

Pin It

Tuesday, January 27, 2015

Simply Sweet Table topper and Marti Michell inset triangle ruler review

Last week I made a quilt top using Moda's L'Amour Charm pack.  If you missed it you can read about it here.  Believe it or not I made a lap quilt and had enough scrap 2.5" charms leftover for a small project.  This was a great opportunity for me to try out my new Marti Michell Diagonal Set Triangle Ruler and write a free small quick pattern to share with you.  Don't worry, if you don't have this ruler, the instruction for my Simply Sweet Table topper has directions with or without the ruler.  The link to the pattern will be at the end of this post.


Before starting the ruler review I'd also like to let you know that my background fabric is also quilt border scraps from the Amour de Cerise quilt.  
As most of you know when making a quilt set on point those set in side and corner triangles can be quite tricky.  In the past we needed to cut a huge square  and then cut on the diagonal twice.  Most of the time our standard 6 x 24 ruler was to short and the measurements were odd.
Not anymore!  This ruler is great.  No more counting those 8th's and 16th's marks for that huge awkward square.  Just line up the bottom of your fabric on any line on your cutting mat.  Then on the ruler find the FINISHED size(in quilt) of your block and line it up with the bottom of your fabric.  For this project my finished block will be 6 inches. Carefully line up a straight ruler at the top of the inset ruler using the markings on the cutting mat.


Slide the set in ruler out of the way and cut.  So simple!


To cut your side set in triangles  place the ruler back on the strip and cut.


Making the corner triangles is just as easy.  From the same strip of fabric line up your ruler on the block size you need at the bottom and then line up the edge with the vertical line that is off center.


Trim away the corners on all pieces, it makes piecing them so much easier.


Look how lovely they line up!  No wings to clip and its perfectly centered.  I love this ruler!  It's not one that I'll use everyday but it's one that when I need it I'm glad I have it.  Well worth the money spent.  The best thing is I can use smaller pieces of scraps instead of needing yardage.


The free pattern for my Simply Sweet table topper can be found here.  The instruction are with and without this ruler.  Enjoy!


~ Lea Anne ~

Pin It

Friday, January 16, 2015

Amour de Cerise

Translation...Cherry Love.  Need I say more.  You gals know me and you know my Cherry obsession.  The nine patches are L'Amour charm pack by Sandy Gervais for Moda and the background fabrics are Redwork Renaissance by Chloe's Closet for Moda.  I ran out of the background fabric needed for the border so....I made a quick trip to the LQS yesterday only to find they were closed due to a water leak.  Praying and crossing my fingers all the way to Joann's for fabrics to match the designer fabrics.
The powers that be were listening!  I also picked up the red polka dots.


The raw edge applique is made using Heat and Bond Light and 100wt Invisafil thread (my favorite thread for applique and quilting) and a teeny tiny, little itty bitty blanket stitch.  GLASSES REQUIRED  for this old gal!  


So here's my plan.   There will be a tiny bit of applique on the vine border below.  I'll be designing it by good old paper and pencil.  This quilt will also give me the opportunity to use my new ruler, Marti Michell's inset triangle ruler.  I'll let you know how that goes next week. 


~ Lea Anne ~
Pin It

Wednesday, January 14, 2015

L' Amour quilt

Yesterday was clean the Studio day and finishing up the Peppermint Posie Quilt top.  It's now a top and stored away for quilting later in the year.  Okay I don't know about you but when my hands start fondling fabrics the quilty wheels start turning.  After hours of fabric straightening and fondling a plan was set in motion at around midnight.
I wish I could remember where and when this cute little charm pack came into my possession.  
Charm packs are a great way to see all the fabrics in a line without committing to a large quantity.  They're also a great for a design challenge.
So let me back up a little in this story.  As I cleaned yesterday I was also having an email conversation with Barbara over at Wonttobequilter.  She's working on a scrappy nine patch...SWOON!  I love scrappy and nine patches.  Here's a few quilts I've made using nine patches and scrap 2.5 squares.  


I'm sure if I dug deeper into the picture files I could find more because the nine patch is a go-to block I've made several times.   Anyway....here's a sneaky peaky at my Barbara inspired nine patches from a charm pack.  The nine patches will be set on point with some applique in the body and border of the quilt.  Of course I had to pull some yardage from the stash(shown in the first picture of this post).  A tip for working with charm packs and making nine patches....Reduce the seam allowance, instead of a scant I'm using a super scant so they can be squared up later.
I'm linking up with these great bloggers today!
and 

~ Lea Anne
Pin It
Related Posts Plugin for WordPress, Blogger...