I'm flying high after finishing the Flying Free Circle Mini Quilt. I'm feeling like I could make 10 more of these little cuties!

The Flying Free pattern was designed for turned edge applique, but I decided quick and easy raw edge applique suited my needs better. So, I had to trace some of the applique from the backside of the printout.

My applique looks pretty good until you take up close pictures, but I wanted you to see the tiny little blanket stitch. It looks like a mess when this close but honestly it looks pretty normal when at a normal distance.
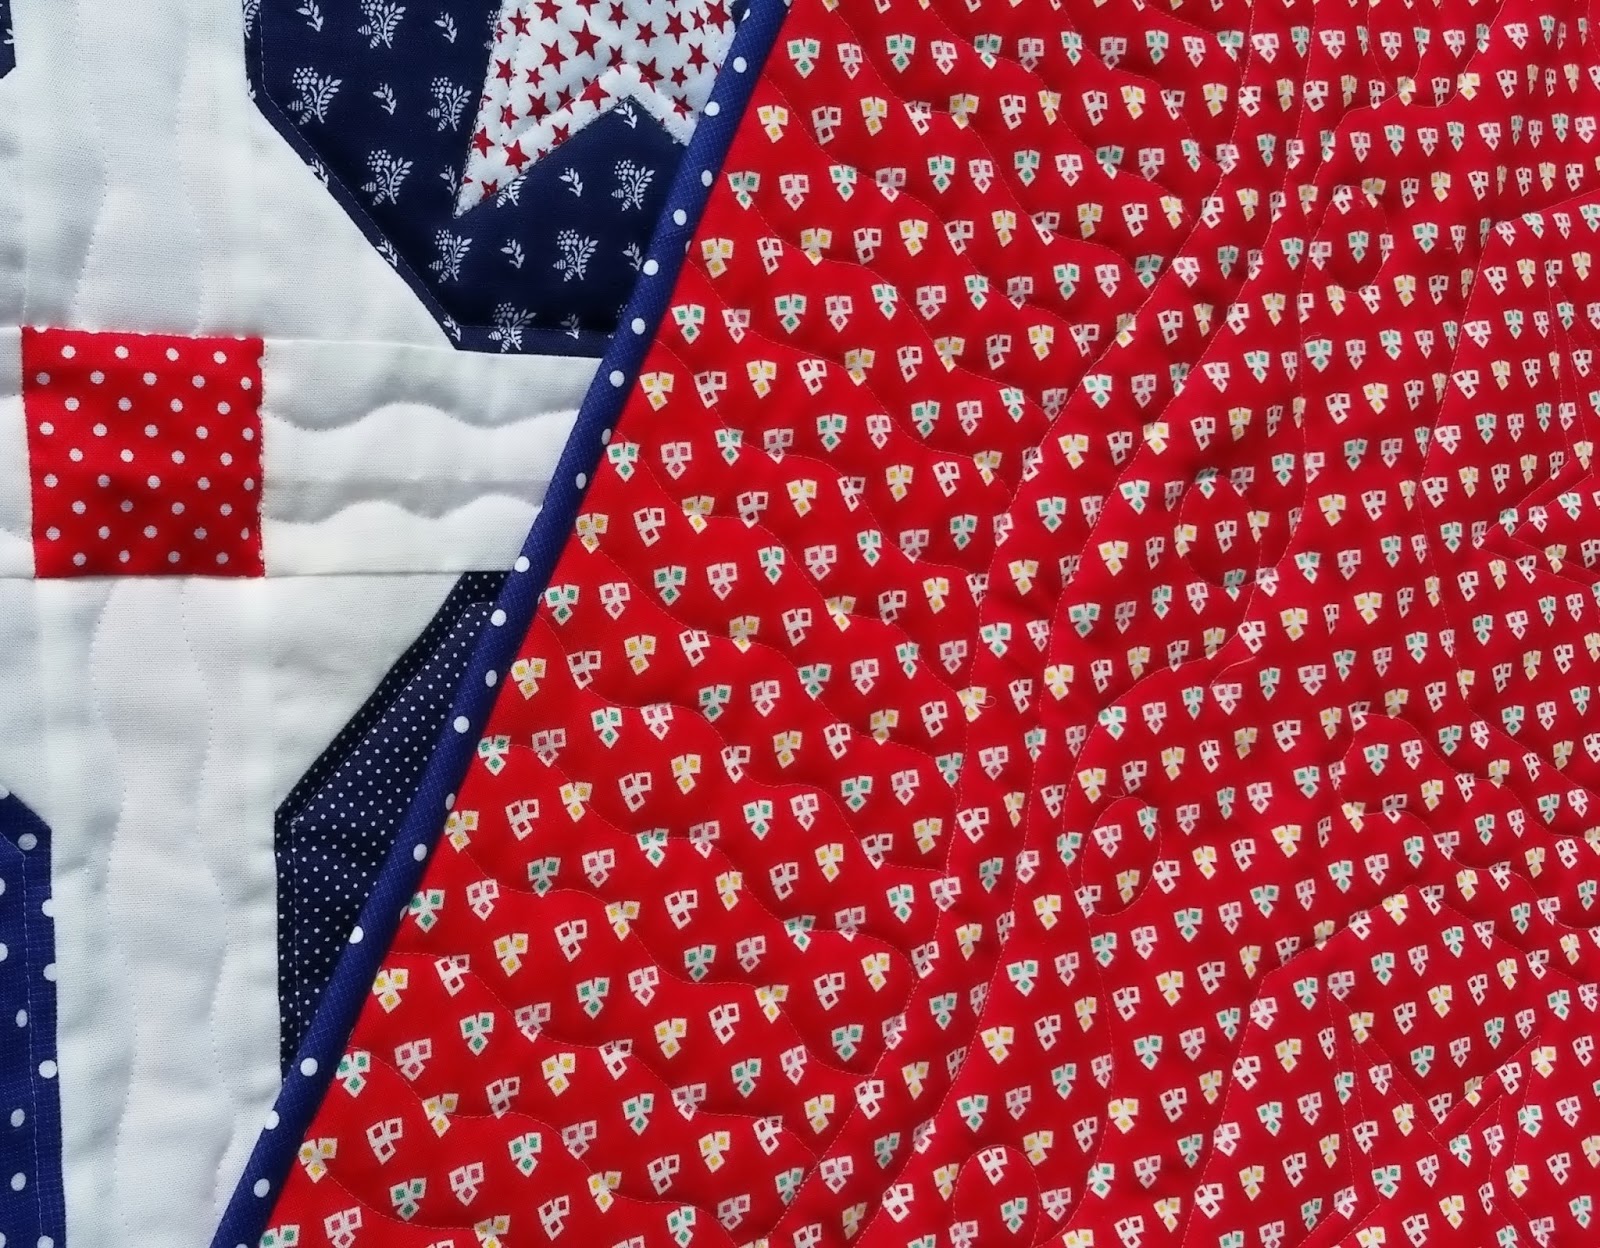
For the quilting and applique on this one I decided to use the thread I normally use when quilting on the longarm. Superior Threads MicroQuilter 7002. It's100wt polyester and melts into most fabrics.

If you're interested in making this little mini quilt, there's some things you need to know. First, I had to reduce the size of the applique to 60%. It took many trials and errors before finding the perfect size to fit the 10" circle needed for my project. I also opted to print only the print the pages I thought were needed, which was pages 6-9. However, after printing them, it dawned on me, I didn't need pages 8 and 9. They were the templates for the hat and flag. Both of these could be traced from pages 6 and 7.

If you're interested in make one of your own, here's a link to the free wall hanging pattern called Flying Free from All People Quilt.

There's one more little circle quilt I plan to make this week before going back to quilting up another UFO quilt top. If you would like more information about this Scallop Metal Quilt Stand, check out a previous post here. I'll see you in a day or two with another mini!


Pin It