Showing posts with label 12 hsts. Show all posts

Monday, February 4, 2013

Design Wall Monday and a TIP

A few months ago I began digging through my scrap box and sewing up HST's using Printable Papers found here.  Last night during the Super Bowl (By the way it was a great game!) I needed a project that would keep my hands busy but not my eyes, so I began ripping off the papers.  Here's the layout I came up with. It'll finish at 12".
Tearing off all those papers was a chore.  Even though I had my stitches set small the paper still wanted to pull my end stitches out.  So here's my TIP if you use printer paper to make these.

A jar with with a few inches of water, a dishcloth, wet and rolled.
Push the wash cloth down in the water.  Should it start to dry out just push down in the water and pull it back up.  Now I place these between my legs as I sat on the couch with a quilt draped over my lap(in case the game got exciting and I spill the water) I had the jar closest to me and then the bowl sitting behind that, with the box of HST's to my right and the finished ones to my left.


First fold on the seam, paper side to the outside
 
 Swipe the seam just as you would your credit card when buying more fabric.
 It doesn't take much to get it wet enough to work.  
Fold the paper back, creasing it with your thumb.
and rip
 and rip
For the most part, the paper came off clean, but some left behind very minimal traces of paper.
Finger press
   This box had 720 HST's, not sure how many I actually finished. 
Until next time "Quilt out of your Comfort Zone!"
Lea


Pin It

Saturday, May 26, 2012

Hst Paper Method

Normally I dont use paper piecing for making HST's.  But I found these papers online that can help me teach my newbies class to make them.  You can find them here to print.  Later in the week I'll be posting a a pdf pattern for Summer Stars quilt that I designed in EQ7.  Its beginner friendly and goes together rather quickly with HST papers.  Of course it can be made using whatever method you choose.  I made these today in about 10 minutes.

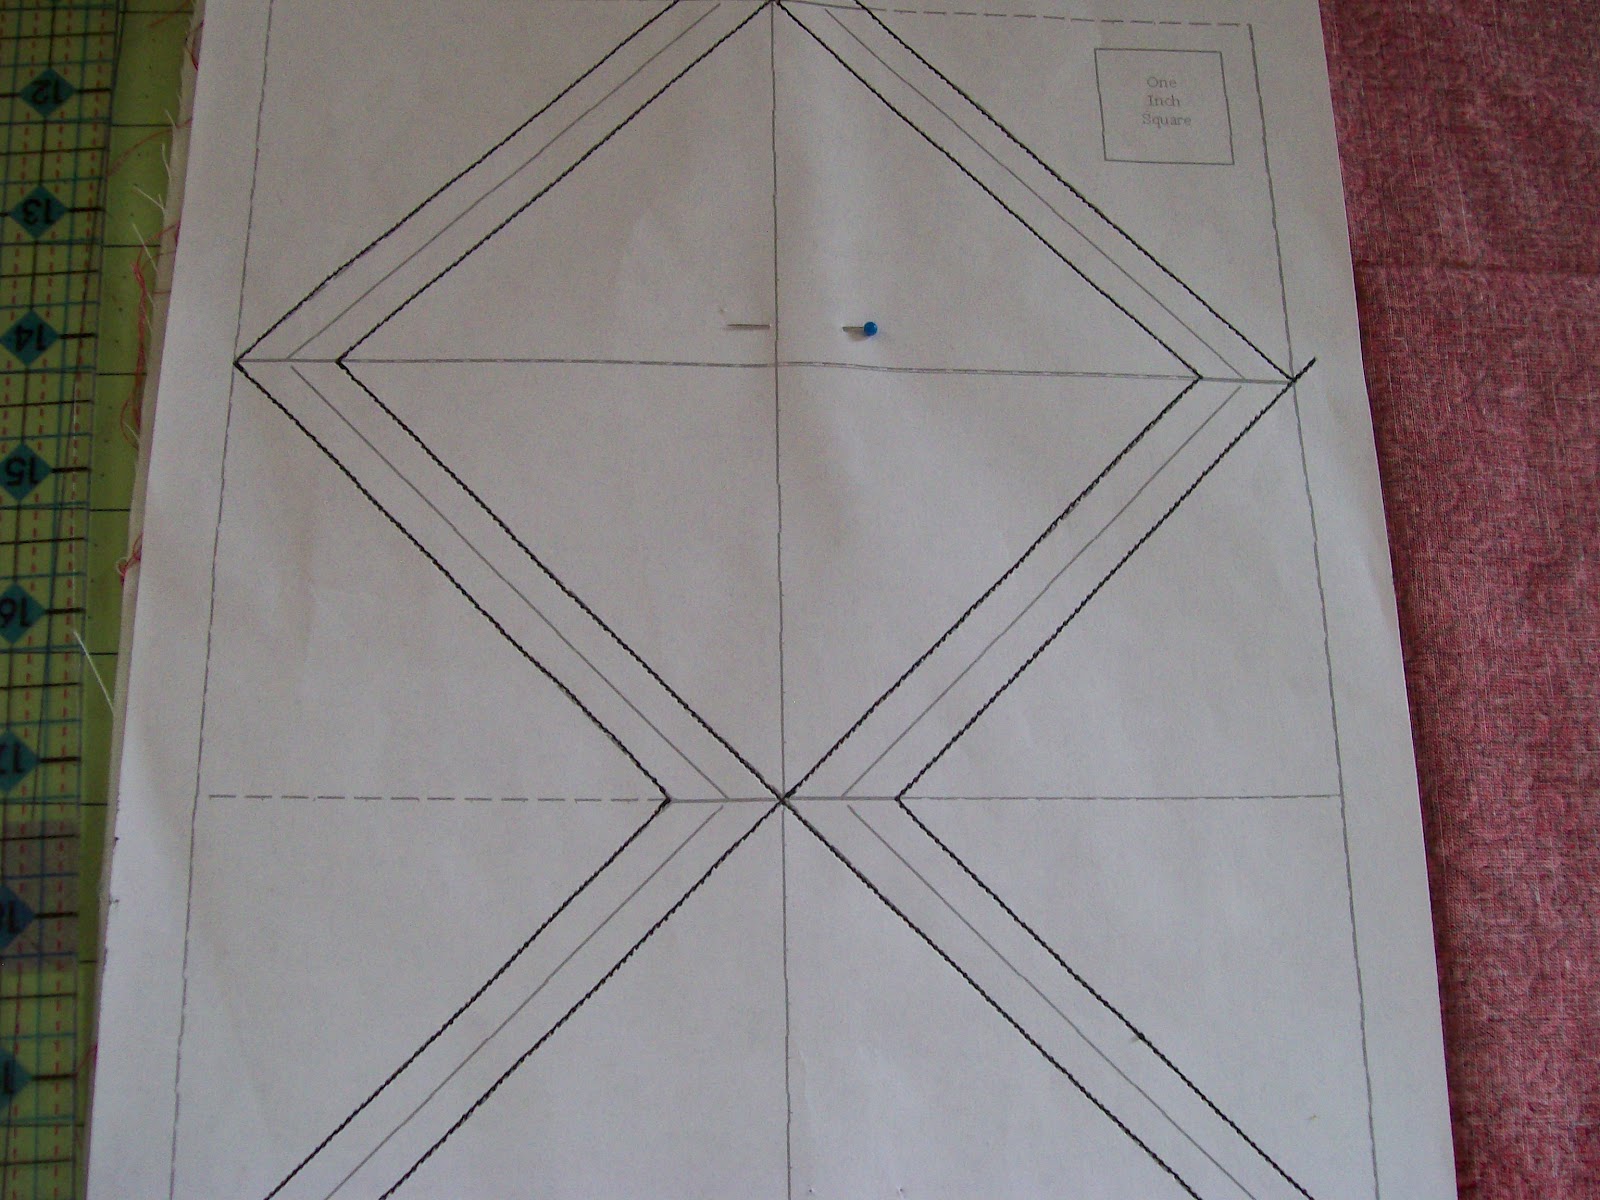
 Start by printing out paper and pinning it to 2 pieces of fabric that are right sides together
 Lower your stitch length to about 1.8, change your foot to an open toe and sew on the dashed diaginal lines.  When you get to a corner put your needle down, turn and keep sewing on the dashed line. 
It should look like so.....

Trim off the outer edges(solid lines)
 It should look simular to this
 Now dont cut on the diagonal yet.  Cut the 90 degree lines first!  And then you can make that angle cut.
 The one on the right is the one I cut on the diaganal first...OOPS
And look!  Super easy and fast! Another tip;  leave the papers on to press to the dark.  It gives a much nicer seam with no stretching of fabric.  tip 2; leave the papers on till your ready to piece the blocks.
Pin It
Related Posts Plugin for WordPress, Blogger...