Showing posts sorted by date for query nifty notions. Sort by relevance Show all posts

Wednesday, September 11, 2024

Testing New To Me Hand Needles

These Lori Holt Binding Needles were purchased almost a year ago at the Nimble Thimbles Quilt show in Franklin, Indiana. Somehow the cute little needles were shoved in my notions drawer and forgotten.


Leave it to Lori to make a needle cute.  They have pink paint on the top of each needle.  The pink means it's a binding needle. She has needles with different color paint for different uses.  Some reviews say the paint makes them easier to thread. We'll see about that shortly.


In my last blog post I found a few quilts needing labels.  This is the perfect time to give these needles a test run.  


First lets compare them to my go needles, Bohin.  I've been using this brand for a couple of years.  They were part of a Fat Quarter Shop Sew Sampler  subscription box.  


I was skeptical because I've used many brands over the years but always went back to John James needles due to they glide smoothy through the fabric.  Cheap needles are not as polished and don't glide well.  Cheap needles also bend easily.


Not only do the Bohin seem stronger than John James. I also like the booklet style packaging.  The booklet makes it easier to remove the needle and it has each needle label by size and suggested uses.


As for the packaging of Lori's Nifty Needles, it gets two thumbs down.  What pain in my keester to find the right needle and put them back in the little container.


But after doing some research I found that she also sells a variety pack of needles.  


And it's pretty cute! I could frame this little work of art!

Back to the test.  I grabbed my favorite Bohin needle and tried to find a Lori needle that was the same size.  This was the best I could do.  


The eyes are very different.  All of the Lori needles have shorter eyes.  The eye also looks a tad wider.  Maybe its an optical illusion?


Was it easier to thread?  It took four tries to thread the needle the first time.  That's pretty normal for my old eyes.


As I sewed labels to four quilts and had to rethread again and again, it was about the same as any other needle.  Try and try again....


A couple times I had to resort to using my favorite needle threader, The Hummingbird.  In the picture below the needle is a Bohin because I wanted to test the threader on both needles.  And just as I suspected, it was easier to use this threader with Lori needles due to the wider eye. With the Bohin needle it will take two or three tries to get the thread to pull through.  This is my third Hummingbird threader.  Each one was a different brand but the all worked the same.  No noticeable differences.


All four of the quilt labels were stitched in place using the Lori needles.  Should I ever need to buy needles again I would buy the multi pack Lori needles shown above. Not just for the cute packaging...HAHA!  But because the larger eye seemed to have an advantage over Bohin or John James.  Lori's needle passed the smoothness test and they didn't bend. In all fairness, bending of a needle only happens for me when I stitch the binding to the back of a quilt. 


There's two more labels to stitch in place and I'll continue using the same Lori needle.


By the way, do you add labels to your pillow covers and table runners?  


When I first started quilting 30+ years ago I never labeled my quilts.  Remembering to add a label is has been a struggle for years. Adding them to the backing before the quilt is quilted makes them harder to remove.  But I would say about 50% of the time I forget the label until after the quilt is quilted.  Maybe   I should write a note on my longarm where the quilt is pinned to the frame.....GOT A LABEL?  That should solve the problem! HAHA!


Pin It

Sunday, January 23, 2022

True Grips, Truly Grip

The HST trimming is progressing along slowly.  If you have no idea what I'm talking about you can read all about my HUGE stash of bonus HST's by clicking this link  https://podunkpretties.blogspot.com/2022/01/the-joy-of-hsts-stitch-clip-and-flip-fun.html

The slow progress is partly due to this Quilt In a Day ruler.  It works great but man is it slick.

Most of my rulers have been plastered with Nexcare transparent tape.  The tape has a texture that grips fabric pretty good.  This 6.5" ruler is my most used ruler and has many pieces of the grippy tape.  Seems like overkill but it works.  Maybe it works so well on the 6.5" ruler because it's small and easier to control the slipping.


The Nexcare tape has a minimal effect on the highly polished Quilt In a Day ruler. 


It's time to try something different in order to speed up the trimming process.  These True Grips are made by The Grace Quilting Company.  I won them back in early December during their 12 Days of Christmas online event.  Believe it or not, I just received my winnings Jan.15.  That's a story for another day.


To say the least I was skeptical about the True Grips.  I've used similar products in the past and they were not so great.  That's how Nexcare tape became my go-to for slippery rulers.  When I opened these my first thought was "Wow!  that's a huge instruction sheet for stickers."  But this is an advertisement pamphlet.  No instructions included anywhere on the packaging but I think that's because we all know how stickers work, or at least I hope we do.


Right out of the package they feel different than the ones I used years ago.  The True Grips are thicker and feel a little like rubber.


Two little grips were strategically placed on the ruler, right about where I place my hand when using the ruler.


Success!  Not one little slip during the trimming of about 20 HST's!  Amazing! 

 Since these were free to me I had to check out the price.  Between $5 to $7 for 30 grips per package, 15 large and 15 small.  I used 2 large for this ruler.  The small grips are the center that is cut out of the larger circle.


I placed the remaining grips back on the pamphlet to keep them like new until I need them.  Funny how they stick to the glossy paper but they aren't sticky to the touch.  My guess would be these are made from the same stuff as static stickers, but that's purely a guess.  All that matters to me is they work like a charm and I will never use Nexcare on my rulers again.  And that's big deal because I can be a little thrifty/cheap.  These are worth every penny!


Thanks for stopping by my little spot in Podunk!

Until next time...

I hope you find time to stitch up something sweet!


Edited to add this to the Nifty Notions Tab.


Pin It

Wednesday, May 5, 2021

Playing and Reviewing Applipops ~ Nifty Notions #9

For about a year now I've been eyeing this new gadget called Applipops.  They seem to be all the rage in the applique world.  Since I do a little applique from time to time I was eager to try them out but wanted to wait to see what others were saying about them.  Well I couldn't wait any longer.  A couple of weeks ago I finally click on BUY.


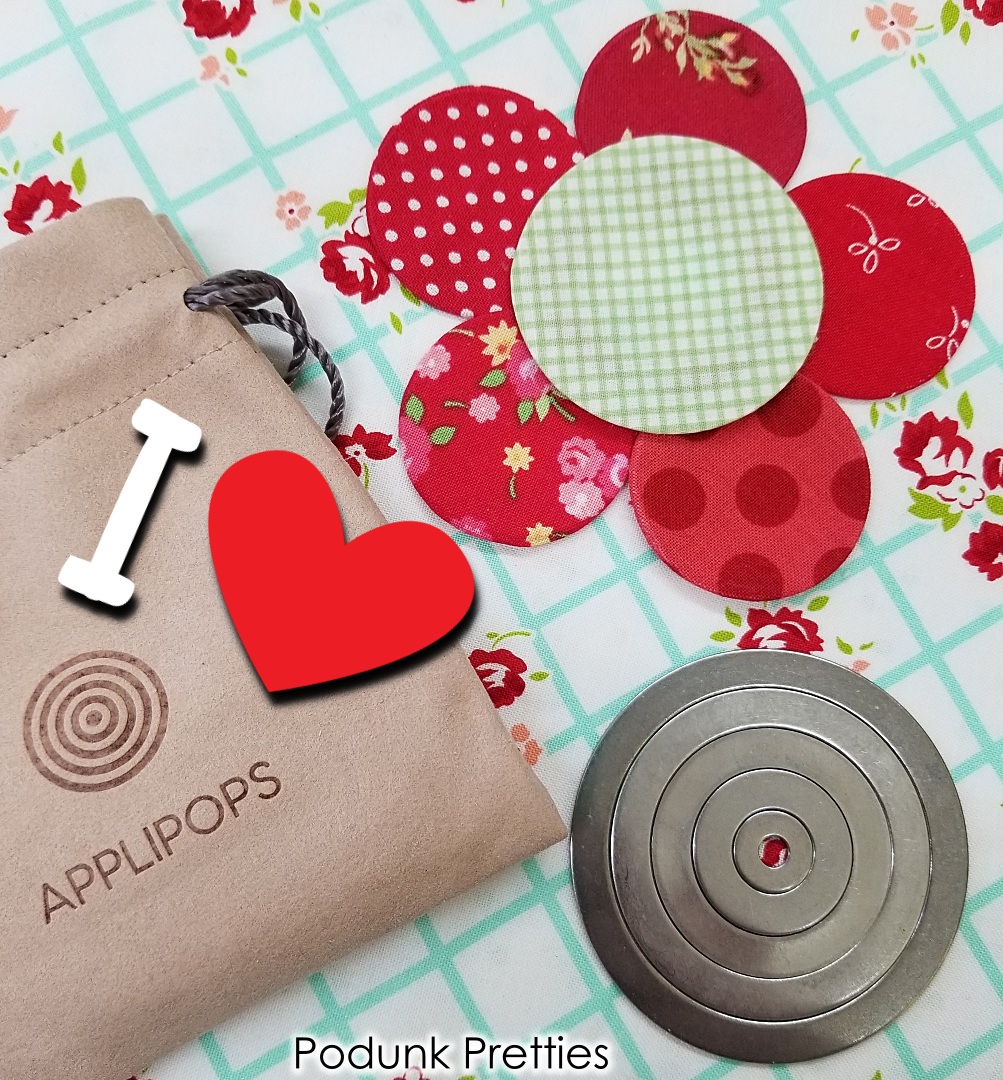
What kept me from clicking BUY was the price.  It seemed a little steep. After much arguing with me, myself and I, we decided to get the best deal and order 2 double sets. In the image below the two sets on the left are the same and the two on the right are the same.  
One set is one of set of circles on one clip for $24.99 + $5.00 shipping.  
One of each size is two sets of circles on 2 clips for $39.99, free shipping.  
Two sets with the 2 different sizes on 4 clips is $59.99, free shipping 
....and I had a promo code for 10% off.  So it made sense to me to buy the biggest set.


I made every size circle in the sets and was not impressed.  I had trouble getting the circles to nest without pushing them all the way through.   So I took a break from them for a day or two.  Then came back and made a few more.  And like magic they were working great.  What was difference?  It took me a few more circles to figure out that there is a dull side and a shiny side to the Applipops.  They seem to nest better when I used dull side up.


With the problem solved I started making oodles of circles.  Before I show you how to use them I wanted to share with you my Applique kit.  Notice the little flower made of circles on the front.


Inside the kit is several different glues that I use when making applique, any applique templates I may be using for the current project, paint brush and bowl for starch and water paint pens for starch, fabric scraps, and a ziplock bag for current shapes being made.


I also pulled out my bin of small scraps for making smaller circles.  I knew this bin of itsy bitsy scraps would come in handy some day!


To test out the Applipops I pulled out a water color paint pen, and a paint brush and a bowl for the starch.  Of course an iron, scissors, fabric and the Applipops.


So lets make a circle.
  Place the larger of two nesting circles shiny side down on the pressing surface.  
Lay the fabric right side down on top of the larger circle.


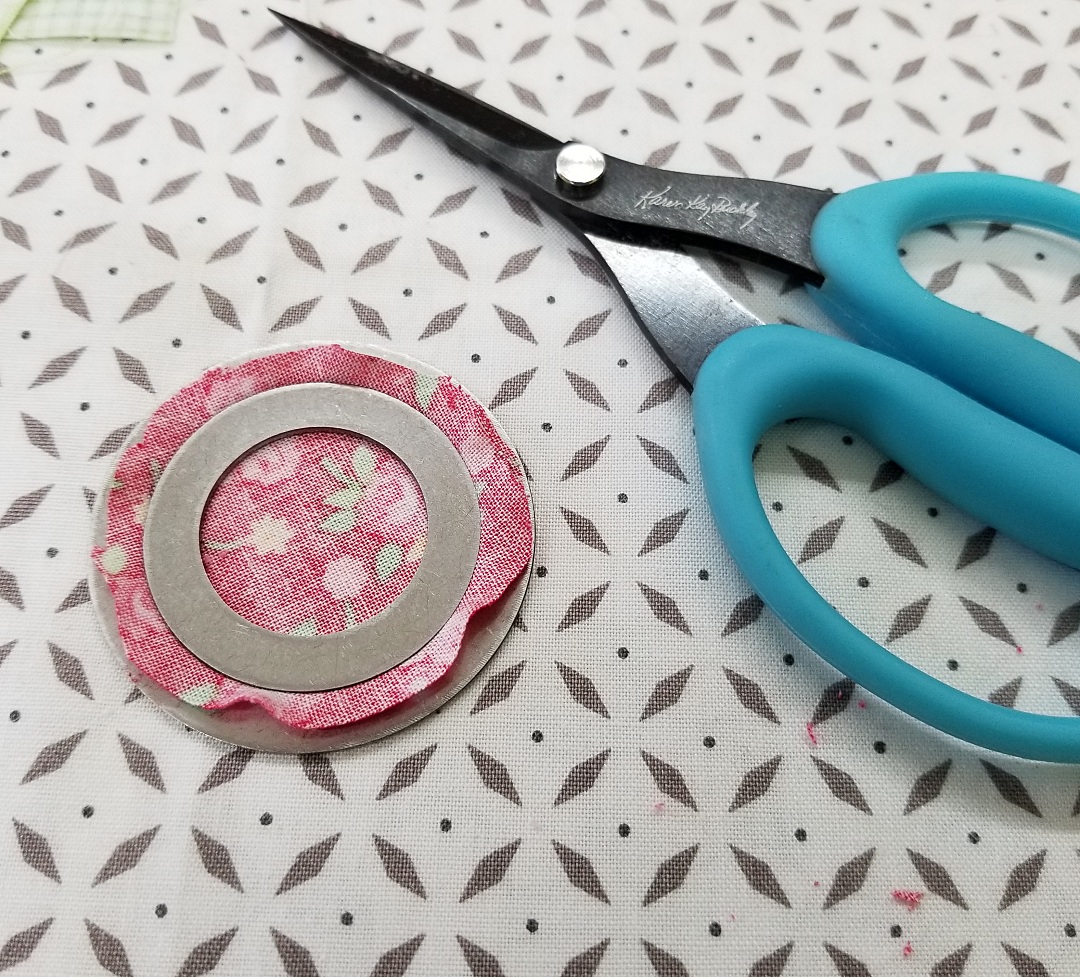
Pop the smaller circle into the center, being careful not to push it all the way through.  I found it harder to push the circle through with the dull sides up,


It should look like this on the other side.  You don't want the center circle sticking out passed the larger circle.  This will make your applique thicker.


Next cut around the circle leaving a 1/8 " to 1/4" seam.


I let my scissors ride on the outside of the larger circle to make the cut.


 The water color paint pen was filled with starch to make applying the starch a little easier.


But the paint brush works just as well if that's what you have on hand.  And in a pinch a Q-Tip works too.


After applying the starch around the edge, push up the fabric to make it easier to press the seam inward.


Because my iron is about 40 or 50 years old it is a little hotter than the newer irons so I've turned the heat down to wool to prevent scorching of my circles and pressing mat.  It's a steam setting but I never use water in my iron.  


Press all the way around the circle until the seam is dry or close to dry.  I used a pair of tweezers to help me rotate the circle while pressing.  Those metal templates get super hot!  Be careful!


Of course you can use any thing to help.  I tried out using a pencil with an eraser and it worked great.


Give it one last press.


After allowing the template to cool remove the circle template.  While waiting for it to cool you can make another circle with the other set of circles.  Or if you are like me use the tweezers to pull out the hot circle template.  I'm so impatient...HAHA!


This is the part that concerned me the most...the thickness.  Look how thick the circle is after removing the template.  This isn't good for applique.  The applique edge needs to be fairly thin.  Leaving like this would not be good.


Will pressing it cause the circle to go wonky, more like an oval or egg?


Pressing it flattened it pretty nicely!


Look how much flatter it is now.  I've stacked one pressed circle on top of one that has not been pressed after removing the template.


They turned out great.  I can honestly say I'm very pleased with the Applipops.  They really do make perfect circles every time.


1. Cost

$59 - They are a little high priced but I think worth the money to make perfectly round circles quickly.  I don't regret my purchase and would buy it again should I lose them or think I need more.  
EDITED 5/5/21  
I just saw on Facebook an ad for Applipops.  Use code SPRING at checkout on their website for 10% off.  It does not say when it expires. 

2. Ease of Use

Yes, very easy to use once you get the hang of using them.  Purchasing more than one set allows you to assembly line make circles without burning your fingers.  One can cool while you make another.

3.Efficiency

The Applipops definitely speed up the process of making turned edge applique circles.   And they are perfect every time.

You can find Applipops at this link.  

You might be able to find a discount code for them on the Applipops Instagram or Facebook.  I found a code for 10% off on Facebook.


I also made a video review for YouTube.  As usual it's corny and I ramble on and on but that's me, corny and I talk way to much all the time.


For more Nifty Notions Reviews Click on the image below or in the sidebar of this blog.  This will take you to all reviews in order from oldest to newest.


As always, Thanks for stopping by my little spot in Podunk!


Pin It
Related Posts Plugin for WordPress, Blogger...