Well I'm still sorting fabrics and making plans for new projects. If you missed out on the mess I made you can read about it here. These may or may not get made but at least the scraps will be a little more organized. I do this every now and then. While organizing my mind can create some beautiful quilt designs that may or may not be made. It's also very therapeutic. Just standing here looking at this mound of fabric makes me sigh. What a glorious site to behold. Instead of designing a quilt I think I'll let these fabrics work their own magic by making a Scrappy Vortex Quilt. You can see and read more about Crazy Mom Quilts Vortex quilt here. It was a quilt along from a few years ago. It's a great idea for mindless sewing and using up some scraps.
Not all of the scraps I've been hoarding will make it into a quilt. This big yellow bag has become my dog pillow bag. Most of the scraps in this back were in glass jars that were for decoration in my studio. It's time to let them go and put them to good use. Waste not, want not, right? So a dog bed is the perfect answer. In the bottom of the bag is also some smaller pieces of batting that will never be used. Seriously, I've been holding onto it for 5-10 years, the chance of me using aren't good. Not to mention there still 10 times that much I'm keeping.
During this cleaning and organizing I've also gathered up all the flippy corner bonus HST's and put them in one box. The box on the right holds the needs to be cut to a usable size pieces. The box on the left is the finished HST's squared up and sorted by size in labeled baggies.
I've also added a marker and extra baggies should I need them for different sizes. Two days of chasing down baggies and a marker made me wonder why I didn't just add them to the box. I buy both baggies and markers in large quantities. So chasing them down everyday seems a little silly.
Every morning the first thing I do in the studio before starting anything else is grab a few HST's and square them up. Doing as many as I can in 30 minutes before working on my current quilt project. At this pace it could take months to finish them. That is IF I can stick with it. I've tried this before and....well...here I am still trying to get them done. Wish me luck!
Now it's time to admit that I have a problem. A one inch HST was saved today. Why? Well my motto has always been "If I can put a stitch it, I can quilt it." The hoarder in me can not let it go, at least not for now.
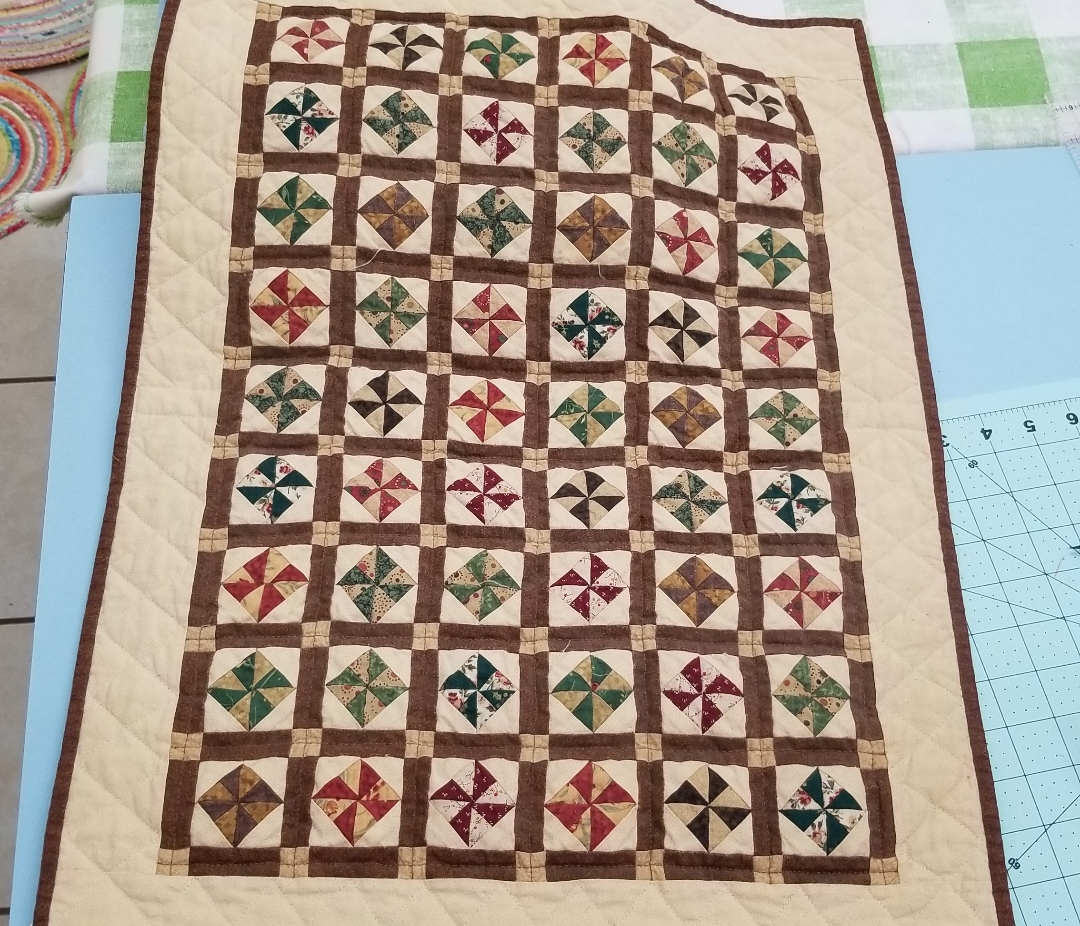
In my defense I want to show you a quilt I made a few years ago. The blocks finish at 1.25". They to were flip and clip bonus HST's. So there....I have and excuse for hoarding. HA!
I wish I could tell you the box of triangles was all of them but it is not. I also have many more that still need to be stitch together. And with every quilt this just keeps getting larger. Can I ever get to the bottom of this jar as a leaders and enders? Only time will tell. My instinct says just go sew a few together every day after you trim up the ones in the box. Maybe I could devote another 30 minutes the the jar of triangles.
I might as well come clean. I have another stash of triangles in my sewing cabinet. These are all white. There's also a stash of hundreds of white 2.5" squares under the lid. I promise that's all of them, that I know of.
Is it really hoarding if it's organized? At what point does it tip the crazy scale? The lens you use to look through makes all the difference when it comes to crazy. I know you all understand...this is not crazy, it's just good common sense. I see fabric scraps like this $$$$. Not to open a can of worms but things have been a little crazy in the last year. Who knows what can happen next. If toilet paper sells out I've got us covered with hoarded fabric I don't like. HAHA!
I'm moving along some scraps this week. Whoo hoo! MOOVING!!!!!!!!
For about a year now I've been eyeing this new gadget called Applipops. They seem to be all the rage in the applique world. Since I do a little applique from time to time I was eager to try them out but wanted to wait to see what others were saying about them. Well I couldn't wait any longer. A couple of weeks ago I finally click on BUY.
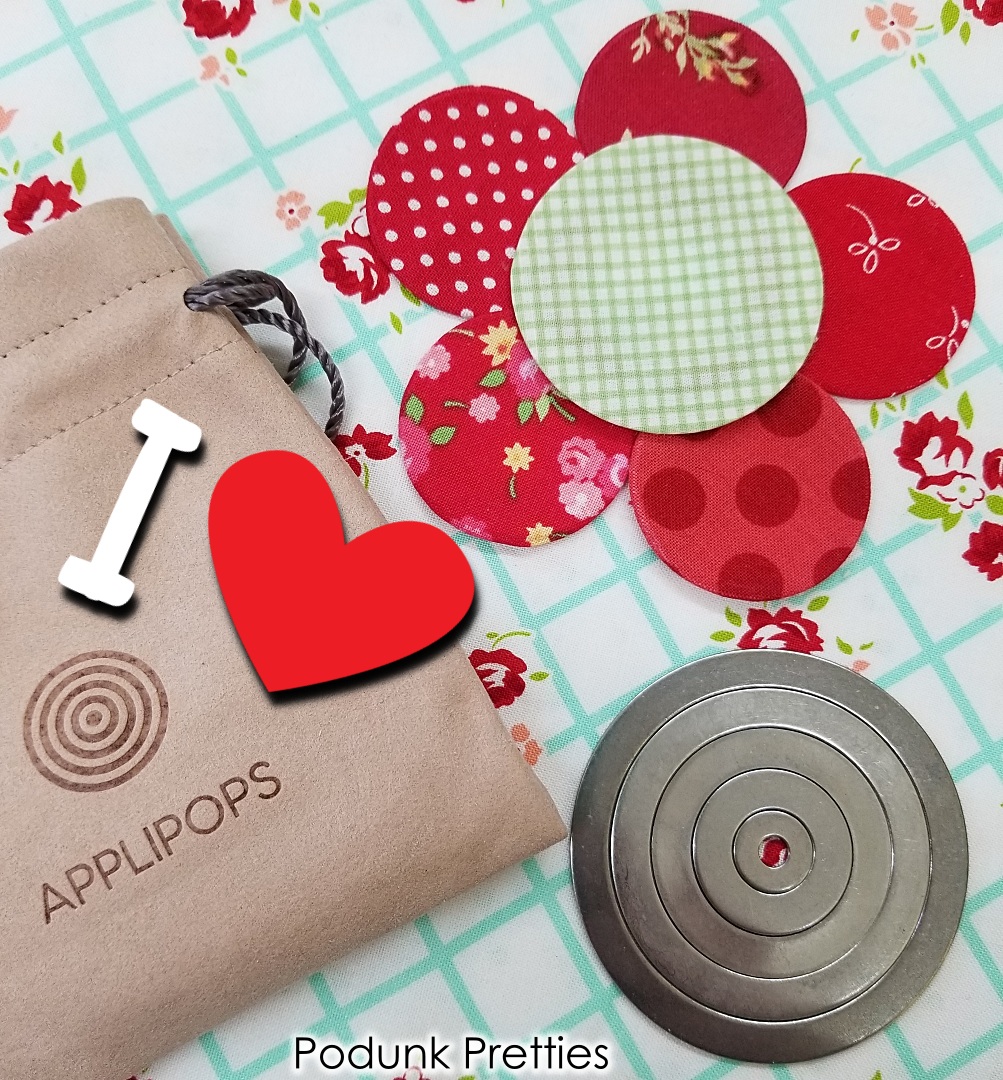
What kept me from clicking BUY was the price. It seemed a little steep. After much arguing with me, myself and I, we decided to get the best deal and order 2 double sets. In the image below the two sets on the left are the same and the two on the right are the same.
One set is one of set of circles on one clip for $24.99 + $5.00 shipping.
One of each size is two sets of circles on 2 clips for $39.99, free shipping.
Two sets with the 2 different sizes on 4 clips is $59.99, free shipping
....and I had a promo code for 10% off. So it made sense to me to buy the biggest set.
I made every size circle in the sets and was not impressed. I had trouble getting the circles to nest without pushing them all the way through. So I took a break from them for a day or two. Then came back and made a few more. And like magic they were working great. What was difference? It took me a few more circles to figure out that there is a dull side and a shiny side to the Applipops. They seem to nest better when I used dull side up.
With the problem solved I started making oodles of circles. Before I show you how to use them I wanted to share with you my Applique kit. Notice the little flower made of circles on the front.
Inside the kit is several different glues that I use when making applique, any applique templates I may be using for the current project, paint brush and bowl for starch and water paint pens for starch, fabric scraps, and a ziplock bag for current shapes being made.
I also pulled out my bin of small scraps for making smaller circles. I knew this bin of itsy bitsy scraps would come in handy some day!
To test out the Applipops I pulled out a water color paint pen, and a paint brush and a bowl for the starch. Of course an iron, scissors, fabric and the Applipops.
So lets make a circle.
Place the larger of two nesting circles shiny side down on the pressing surface.
Lay the fabric right side down on top of the larger circle.
Pop the smaller circle into the center, being careful not to push it all the way through. I found it harder to push the circle through with the dull sides up,
It should look like this on the other side. You don't want the center circle sticking out passed the larger circle. This will make your applique thicker.
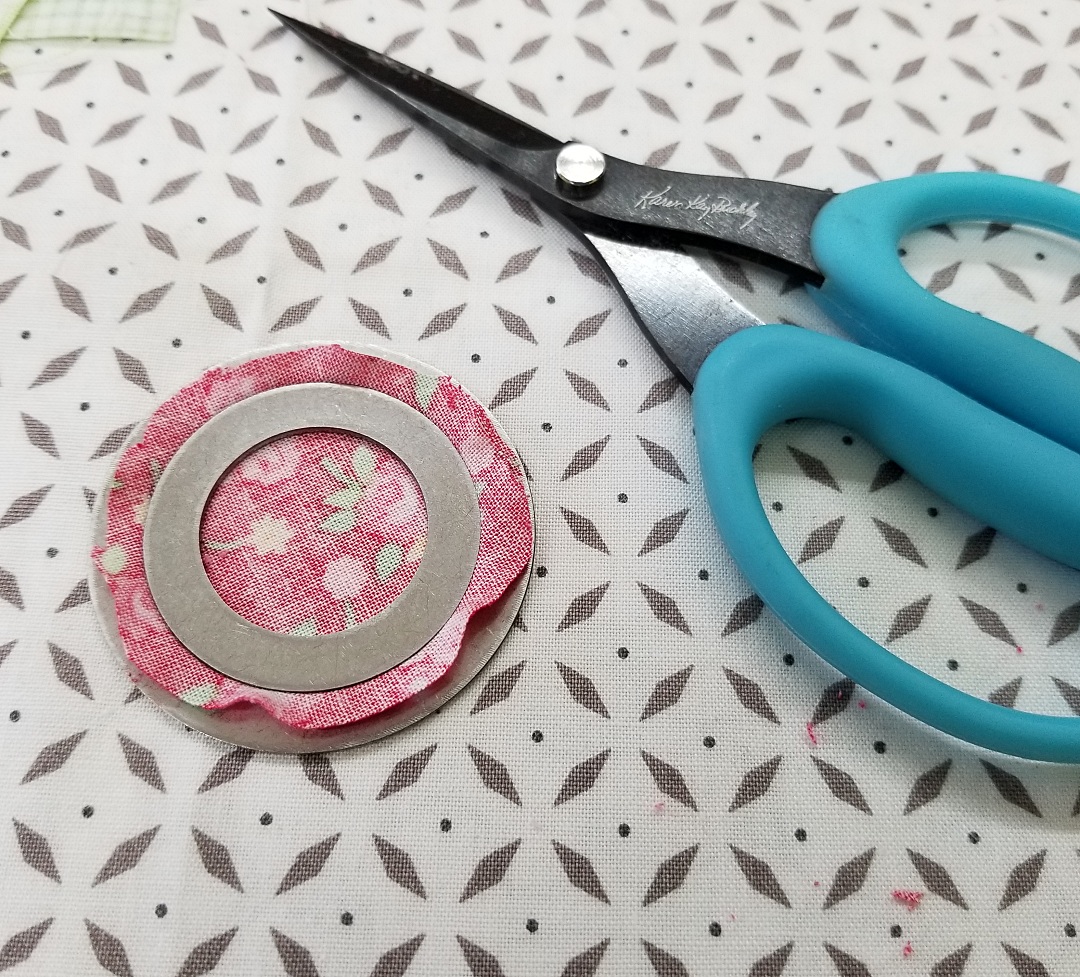
Next cut around the circle leaving a 1/8 " to 1/4" seam.
I let my scissors ride on the outside of the larger circle to make the cut.
The water color paint pen was filled with starch to make applying the starch a little easier.
But the paint brush works just as well if that's what you have on hand. And in a pinch a Q-Tip works too.
After applying the starch around the edge, push up the fabric to make it easier to press the seam inward.
Because my iron is about 40 or 50 years old it is a little hotter than the newer irons so I've turned the heat down to wool to prevent scorching of my circles and pressing mat. It's a steam setting but I never use water in my iron.
Press all the way around the circle until the seam is dry or close to dry. I used a pair of tweezers to help me rotate the circle while pressing. Those metal templates get super hot! Be careful!
Of course you can use any thing to help. I tried out using a pencil with an eraser and it worked great.
Give it one last press.
After allowing the template to cool remove the circle template. While waiting for it to cool you can make another circle with the other set of circles. Or if you are like me use the tweezers to pull out the hot circle template. I'm so impatient...HAHA!
This is the part that concerned me the most...the thickness. Look how thick the circle is after removing the template. This isn't good for applique. The applique edge needs to be fairly thin. Leaving like this would not be good.
Will pressing it cause the circle to go wonky, more like an oval or egg?
Pressing it flattened it pretty nicely!
Look how much flatter it is now. I've stacked one pressed circle on top of one that has not been pressed after removing the template.
They turned out great. I can honestly say I'm very pleased with the Applipops. They really do make perfect circles every time.
1. Cost
$59 - They are a little high priced but I think worth the money to make perfectly round circles quickly. I don't regret my purchase and would buy it again should I lose them or think I need more.
EDITED 5/5/21
I just saw on Facebook an ad for Applipops. Use code SPRING at checkout on their website for 10% off. It does not say when it expires.
2. Ease of Use
Yes, very easy to use once you get the hang of using them. Purchasing more than one set allows you to assembly line make circles without burning your fingers. One can cool while you make another.
3.Efficiency
The Applipops definitely speed up the process of making turned edge applique circles. And they are perfect every time.
You might be able to find a discount code for them on the Applipops Instagram or Facebook. I found a code for 10% off on Facebook.
I also made a video review for YouTube. As usual it's corny and I ramble on and on but that's me, corny and I talk way to much all the time.
For more Nifty Notions Reviews Click on the image below or in the sidebar of this blog. This will take you to all reviews in order from oldest to newest.
As always, Thanks for stopping by my little spot in Podunk!
Look what I found! How in the world did I forget about these? Better yet how did I find them? Oh my goodness the rabbit hole I've been down in the last week.
But first lets talk about why these became UFO's. Both became overwhelming due to the difficulty of quilting I chose to do on each. I love fancy quilting but I don't like doing it. Hence the reason for doing much easier quilting these days. The yellow and blue quilt has tons of tiny crosshatching.
And the Hummingbird quilt is 100% ruler work. Those little blocks measure 4 inches! Yikes. What was I thinking? Well they can stay UFO's a little while longer because I'm still not in the mood to spend that much time quilting them. Both are about a quarter of the way quilted. The yellow and blue quilt is about 100 inch square....UGGG. Yep back in storage they will go.
So about that rabbit hole I've been in for the last week. It all started when I order some fabric and it wouldn't fit in the stash cabinet. My thought was I just need to do some rearranging and organizing of two different spaces. I could toss or donate my batting scraps in the far end of my cutting table. Then move the books from stash cabinet one to the cutting table. TADA! Problem solved. HAHAHA!
What I thought was bags of batting were two bags of unfinished quilts and one bag of batting to finish one of the two quilts(the Hummingbird quilt).
This is where the snowball starts rolling down the hill and things got way out of hand and before I knew it I was finding and sorting scraps for days. Days doesn't mean whole days. I would sort about an hour or two a day. It was still way more time than I should have been spending on this right now. There's things to plant in the garden, windows to wash, patterns to be written and....so many other things to do.
Who put all this stuff away in such a mess?
With every drawer and cabinet door opened I found more and more chaos.
Scraps everywhere! Why do I do this? As the old saying goes..."The road to hell is paved with good intentions". I know my intentions were to organize these after the next must make quilt. Sad thing is that list of must makes never ends.
That's it, from now on I will deal with the scraps as they are made. No more putting things off. Well you know unless there's something really important or a time crunch kind of thing. Sigh...all I can do I try to stay on top of things if I ever dig myself out of this mess. Wish me luck!
Moo-ve 2021 is my word of the year. It means to move myself in healthy ways both mentally and physically. It also applies to quilting. Moving old projects along or finishing them. Basically it's all about making progress and MOVING.