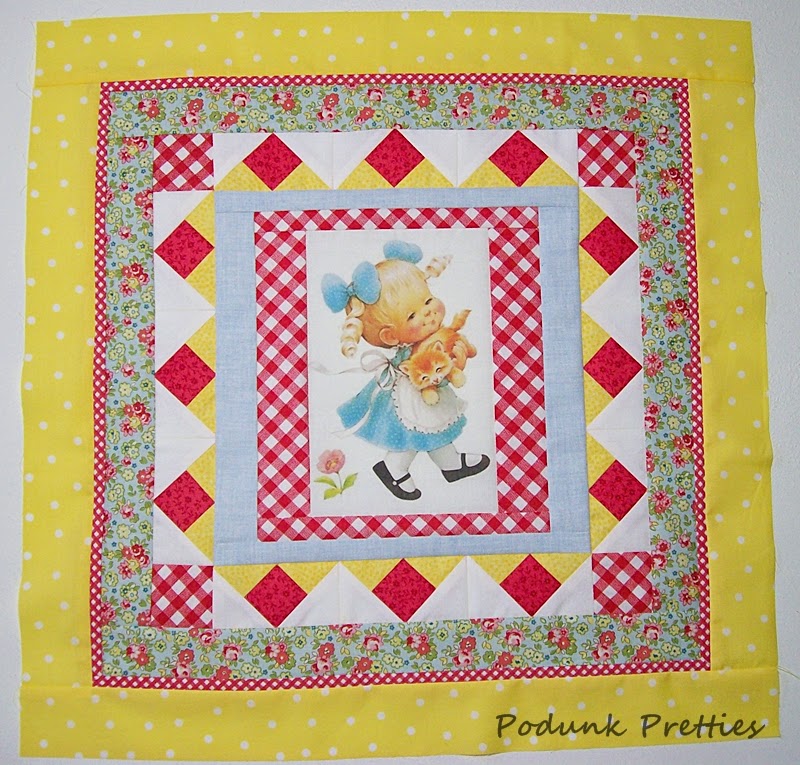
In between life and thunderstorms this Little Missy block came together. The pattern for the block is called Nostalgic Christmas. At 18" its works out great for a pillow or a quick quilt.
The pattern calls for a print for the center of the block but I can see a pretty large scale floral also. Lynn has also made this using her family photos printed on fabric. She suggests using printable fabric sheets that can get be purchased anywhere that sells office supplies. It's super simple to print out your own images using freezer paper and your own fabric. If you try this method its best to do a test piece before making a whole quilt. Some inks set better than others. Here's a quick run down of how to test your DIY printed piece.
- after printing let ink dry for about 20 minutes
- heavily press the printed area with a hot iron, careful not to scorch.
- in a baking dish or plastic container big enough for your printed fabric pour in about 2 inches of white vinegar. Then add your print to the vinegar. Do this carefully. Let stand for at least 20 minutes.
- remove from vinegar, do not wring, lay your print on a towel, using another towel to lay on top and lightly press down to absorb some of the vinegar. At this point you'll be able to tell if some of the ink is going to come off on your towel. Mine did not.
- Carefully rinse in a sink of cold water
- again lay flat and blot to remove excess water
- air dry
- press with iron, the heat helps sets the ink. Now for the real test to see if the ink is permanent, lightly hand wash in the sink using a mild detergent. If you still have a picture just let it air dry and press once more. (You can buy Bubble Jetset if this method doesn't work with your ink.)
I've collected several little girl and boy vintage images on Pinterest for making this quilt. Don't you think it would make a sweet baby quilt? I think 4 blocks with sashing and a small border would be so adorable! For a little boy quilt you could use animal, cars, robots the possibilities are endless for this block.
~ Lea Anne ~
Today's freebie from Pat at Life in the Scrapatch
 |
| CLICK HERE |
Pin It


I agree! Cute, cute, cute! (as usual for you)! XO
ReplyDeleteThis is adorable! I'll be filing this idea for future baby quilt - lots of possiblities.
ReplyDeletehave rad through the instructions but confused at the beginning, I read you print onto freezer paper and then what happens, do you print it straight onto the fabric or wait 20 mins then print it on the fabric and iron it? sorry brain a bit befuddles. As you say your little images would be lovely for a baby or youn child quilt
ReplyDeleteWhat an adorable block Lea!! This would be a precious baby quilt. I'm going to bookmark your great instructions for printing. Thank you. ~~Lynn
ReplyDeleteVery sweet!
ReplyDeleteGreat tips for printing on fabric!!!
ReplyDeleteThanks for the instruction. So timely for me, as I've been thinking up a special quilt for my grand-niece, who's moving far away from her loving grandparents.
ReplyDelete